Add user to Docker group (avoid using sudo for Docker commands):
sudo usermod -aG docker $USER
newgrp docker
Verify installation:
docker – version
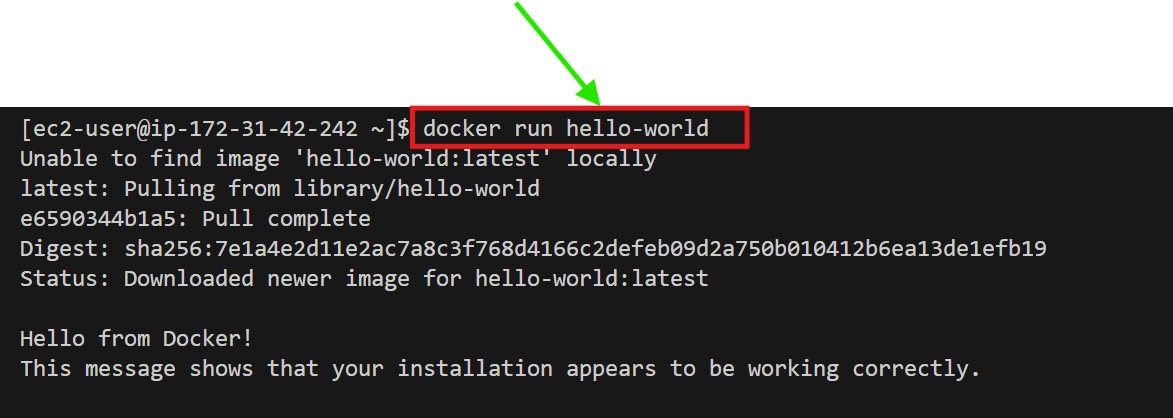
(1.4) Run & Test Docker Container
docker run hello-world
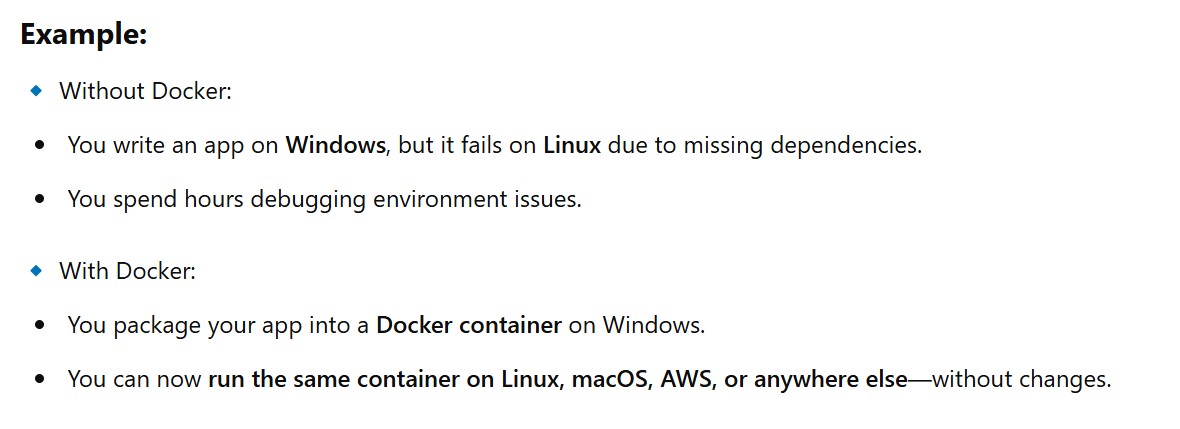
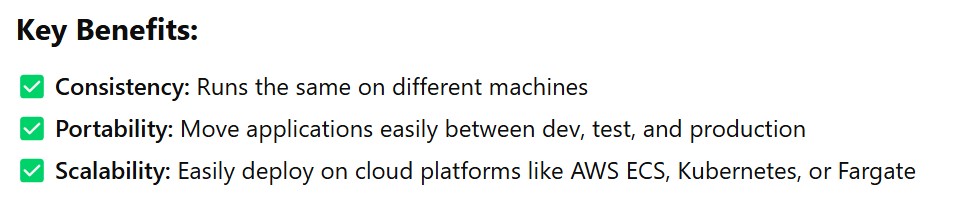
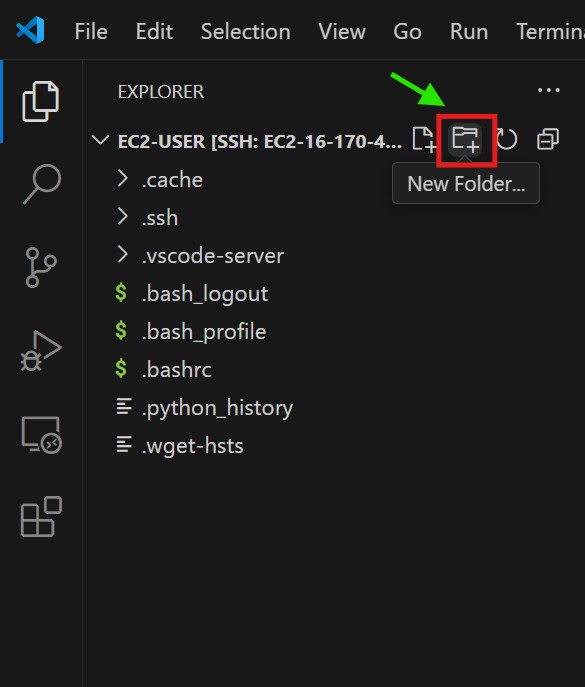
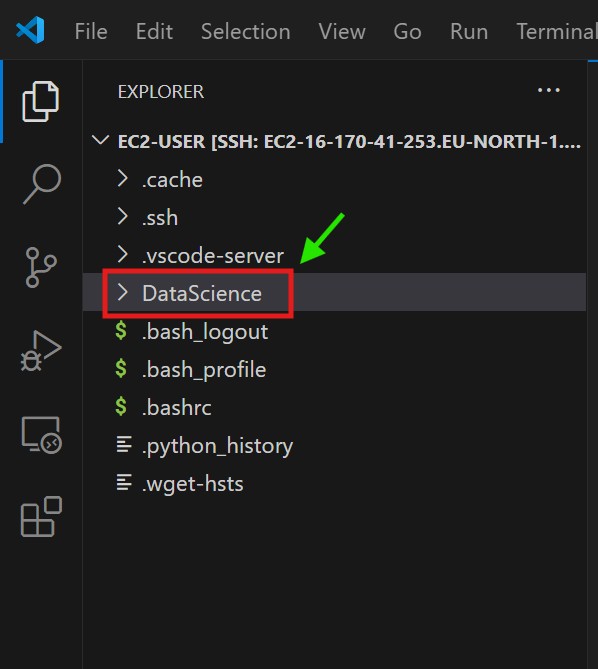
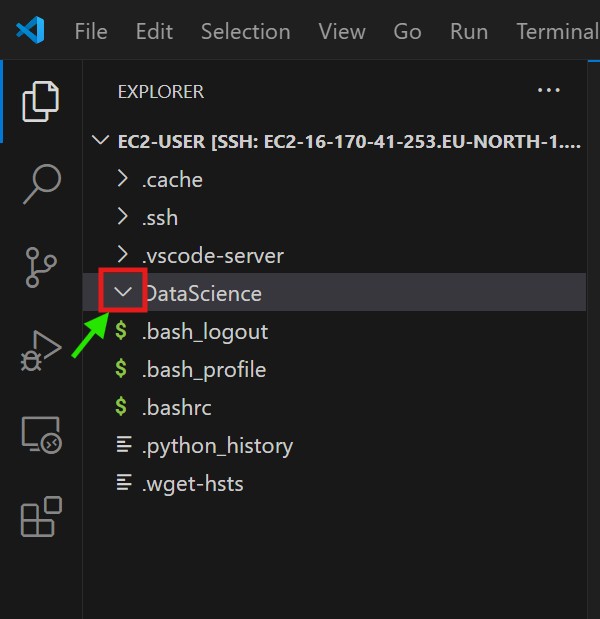
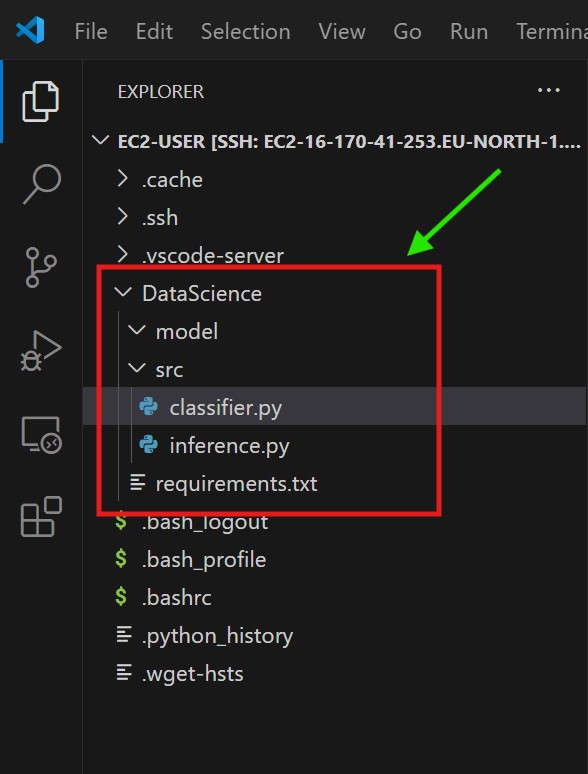
(5) Create A Docker Container For My Application
Step-1: Project Setup:
Step-2: Create An Environment Variable
Create an environment variable and install the required library and run the model.
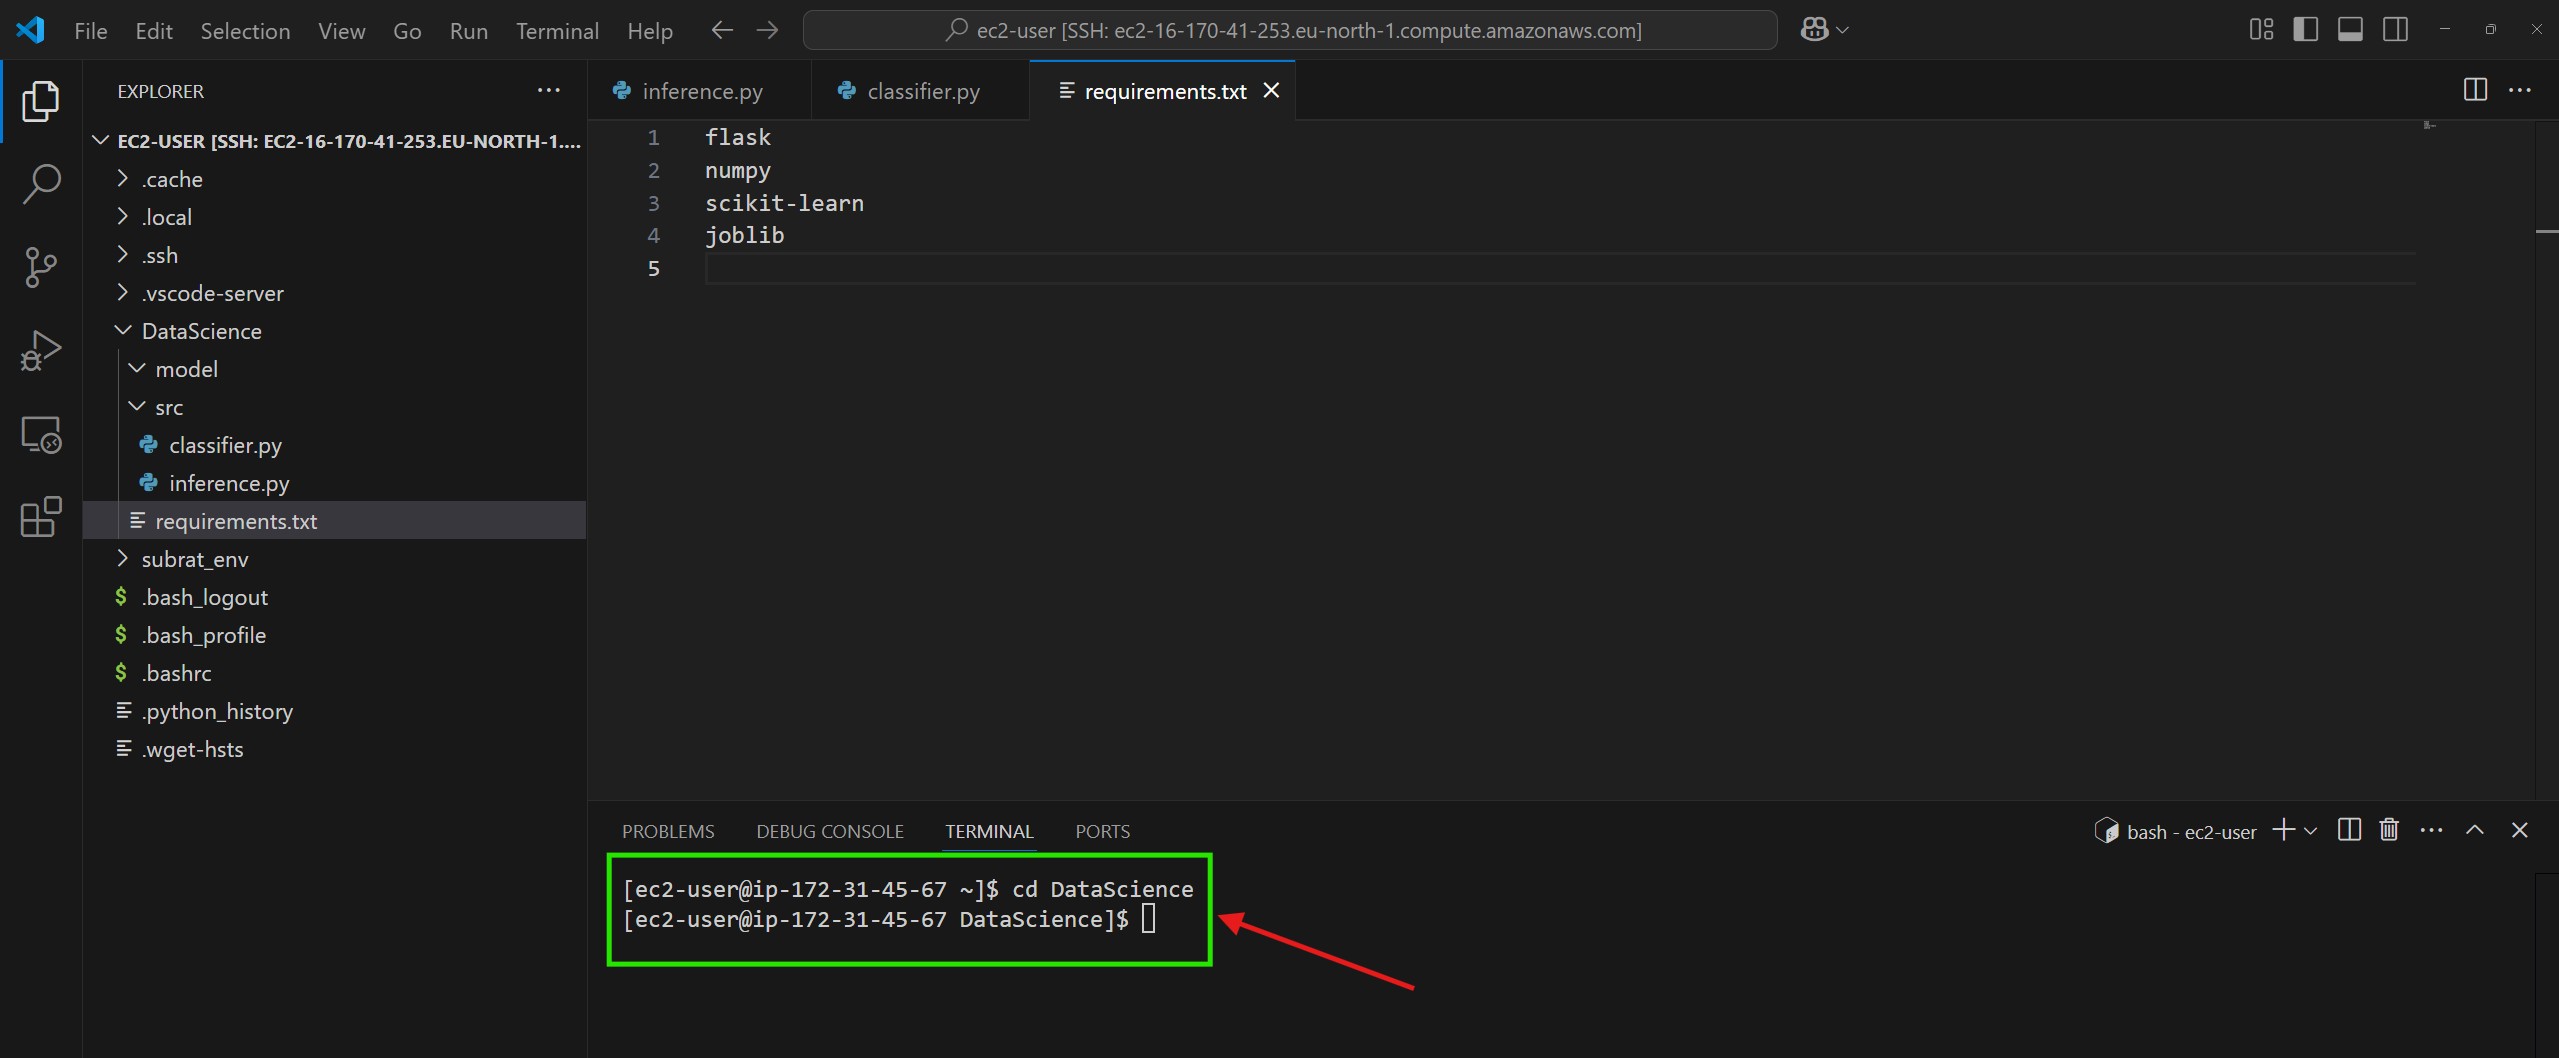
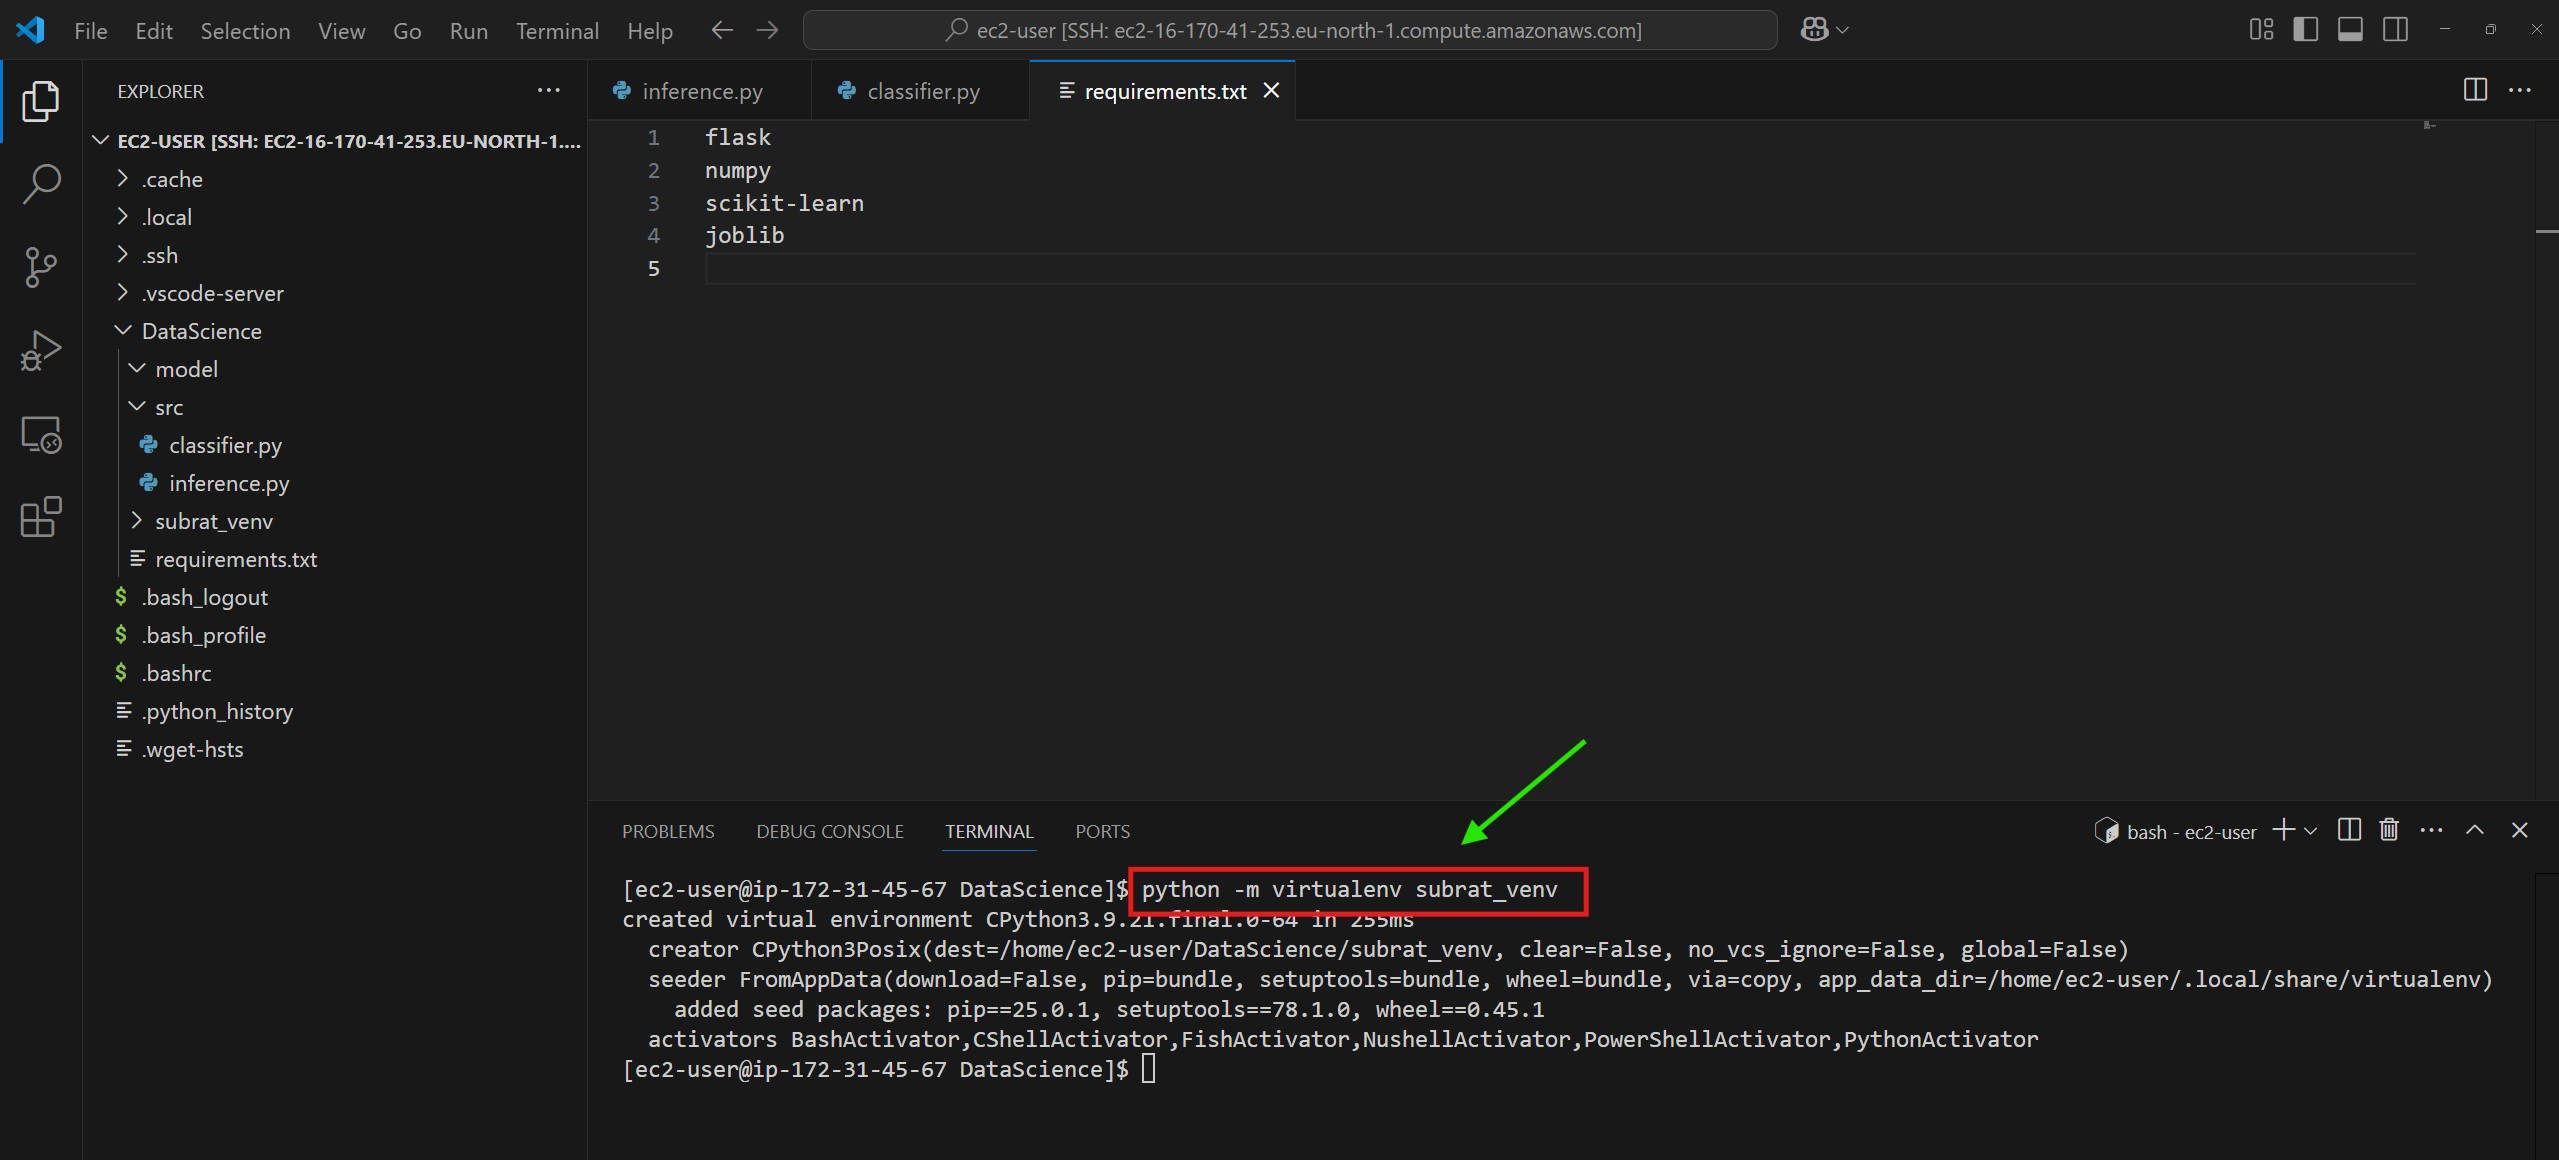
cd DataScience
pip install virtualenv
python -m virtualenv subrat_venv
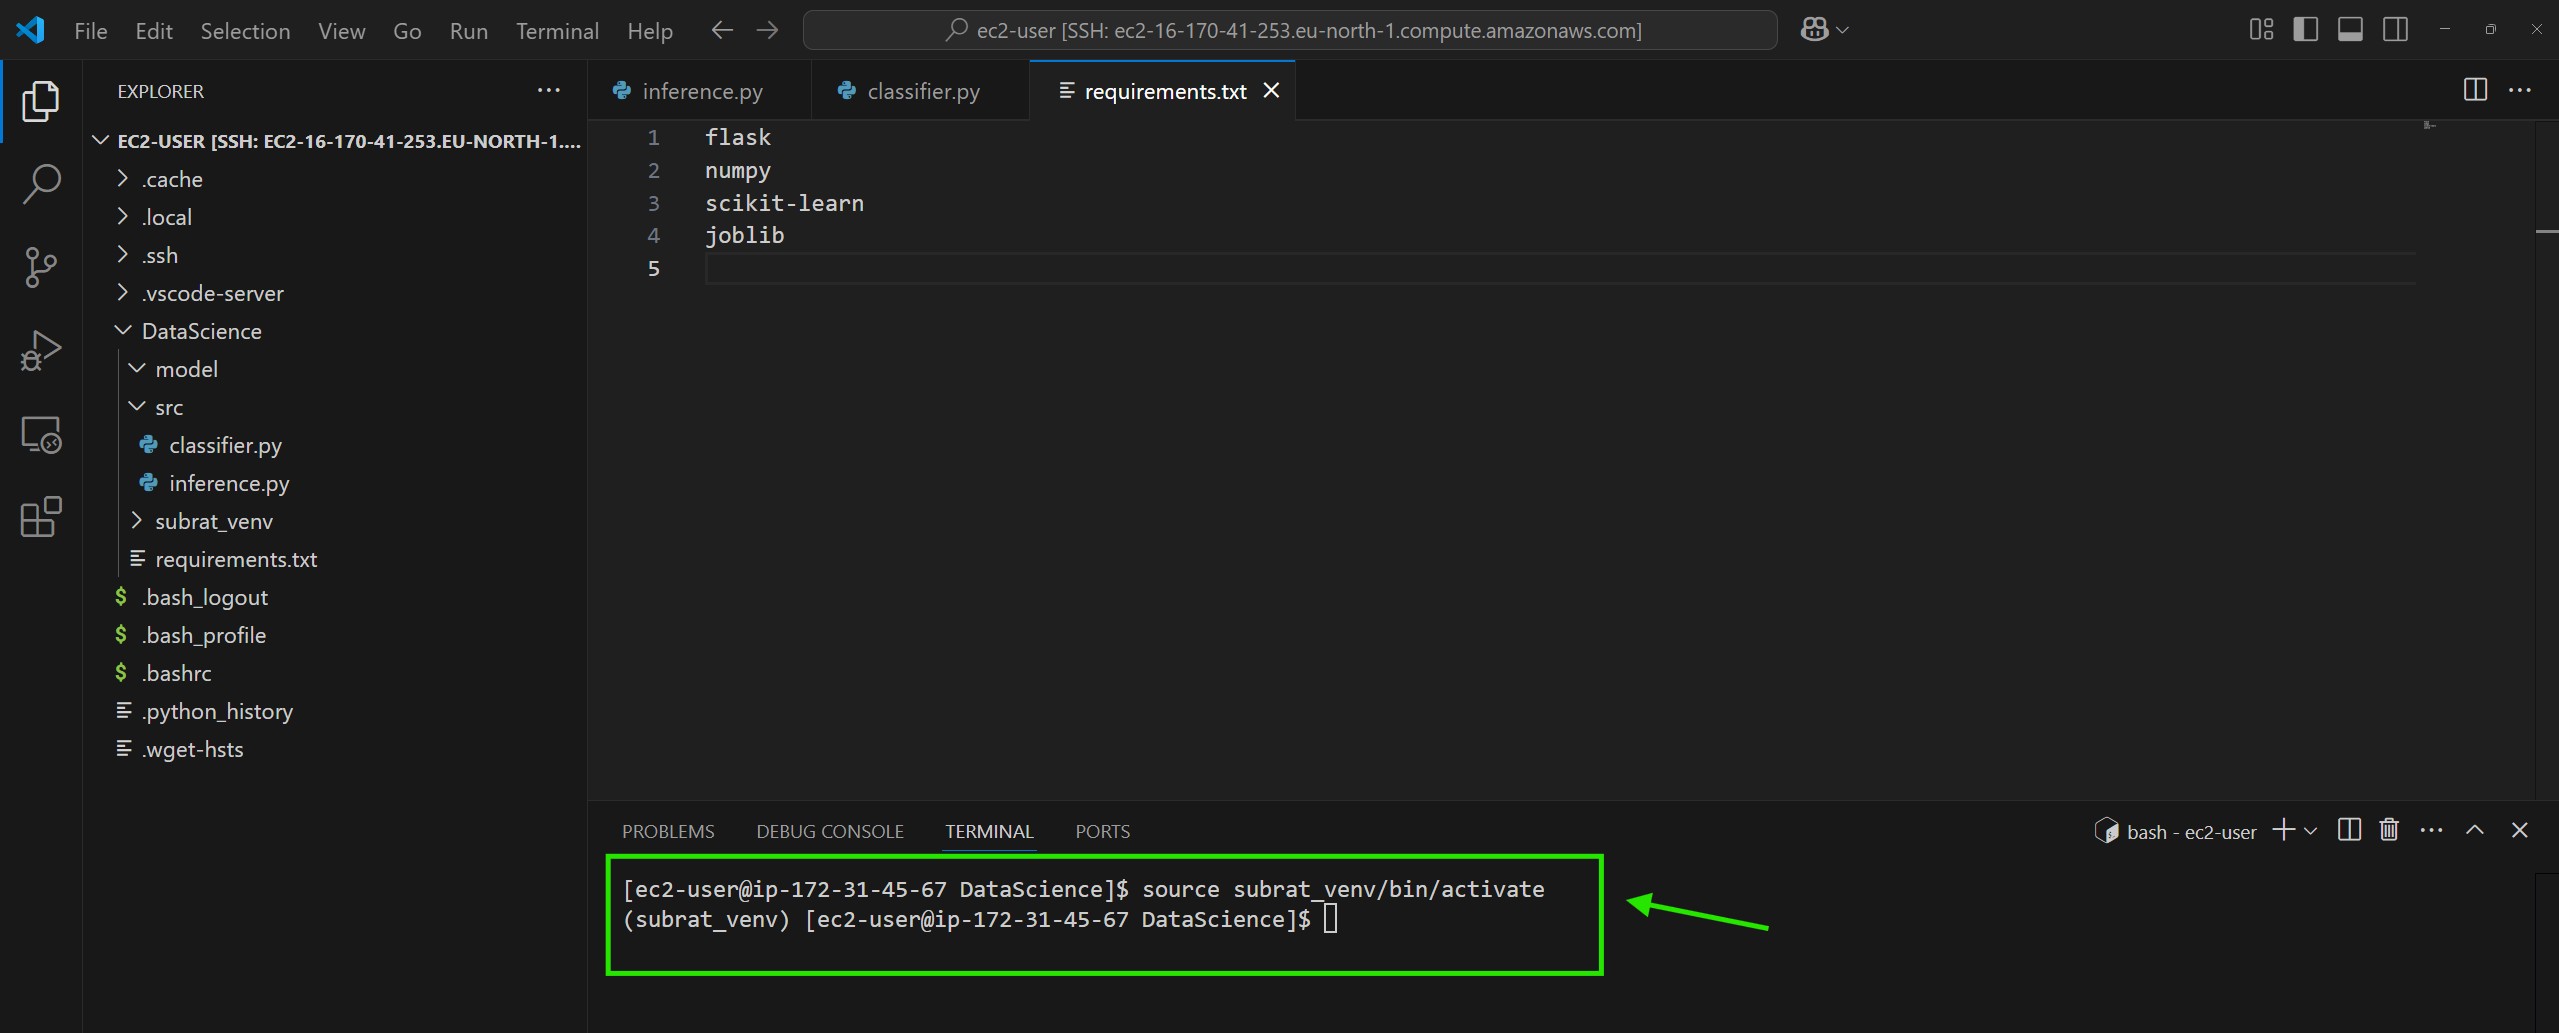
source subrat_venv/bin/activate
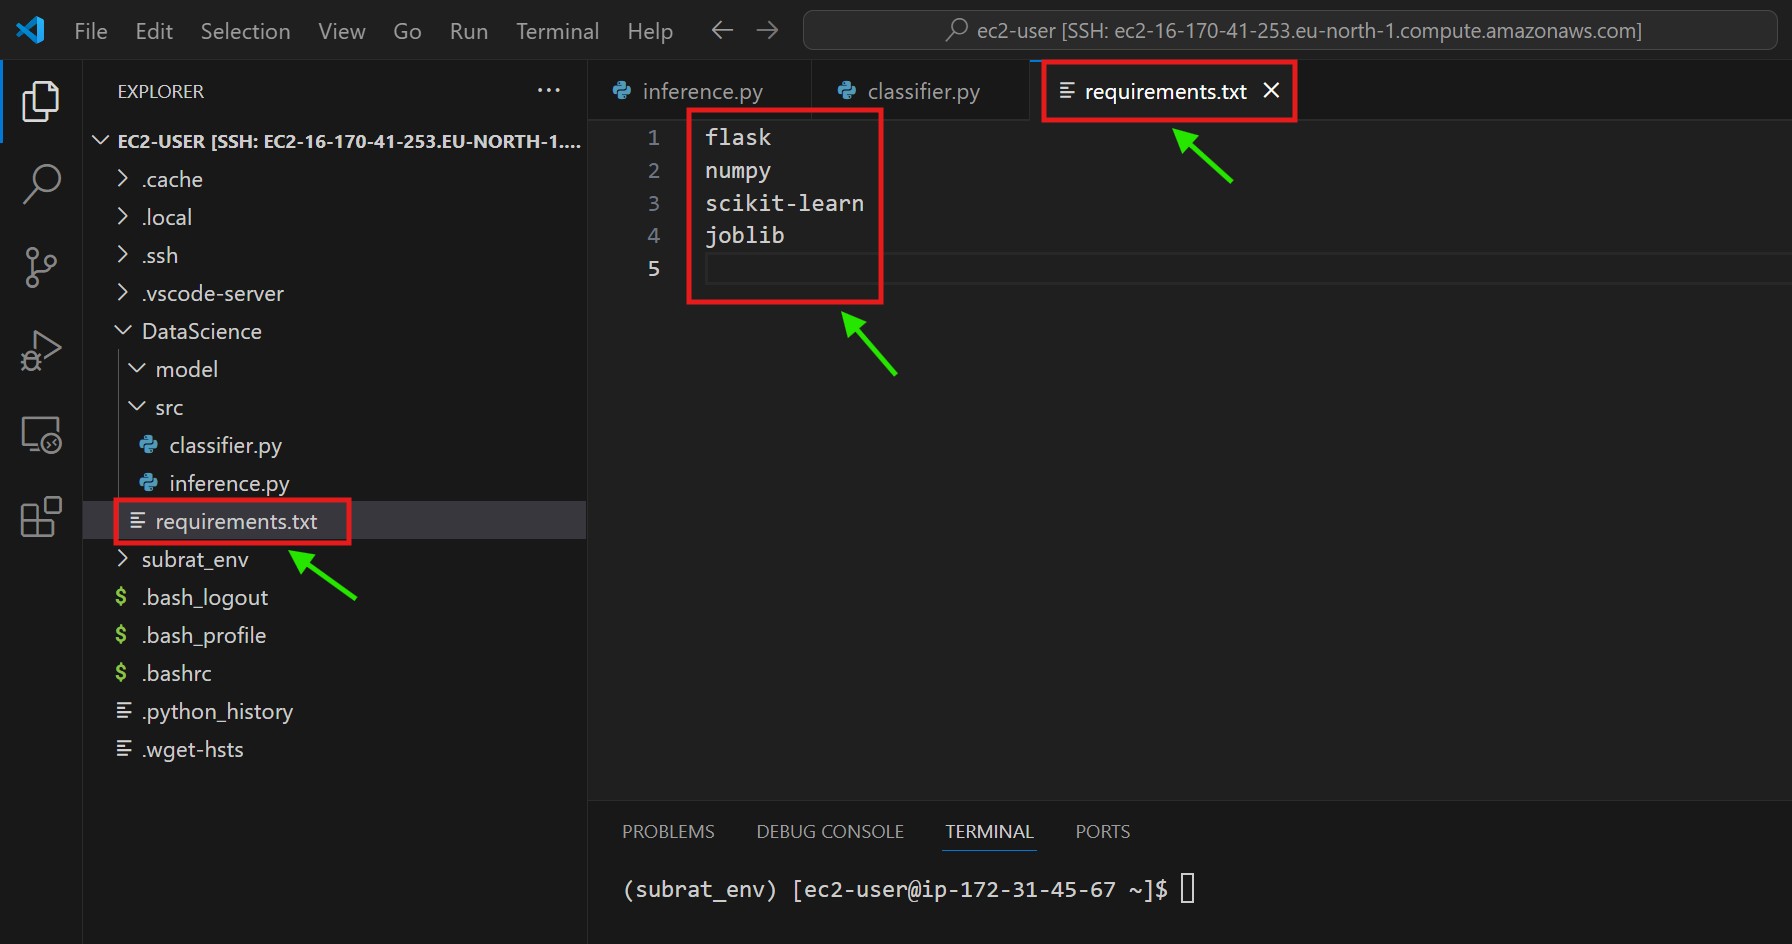
Step-3: Prepare requrements.txt File
flask
numpy
scikit-learn
joblib
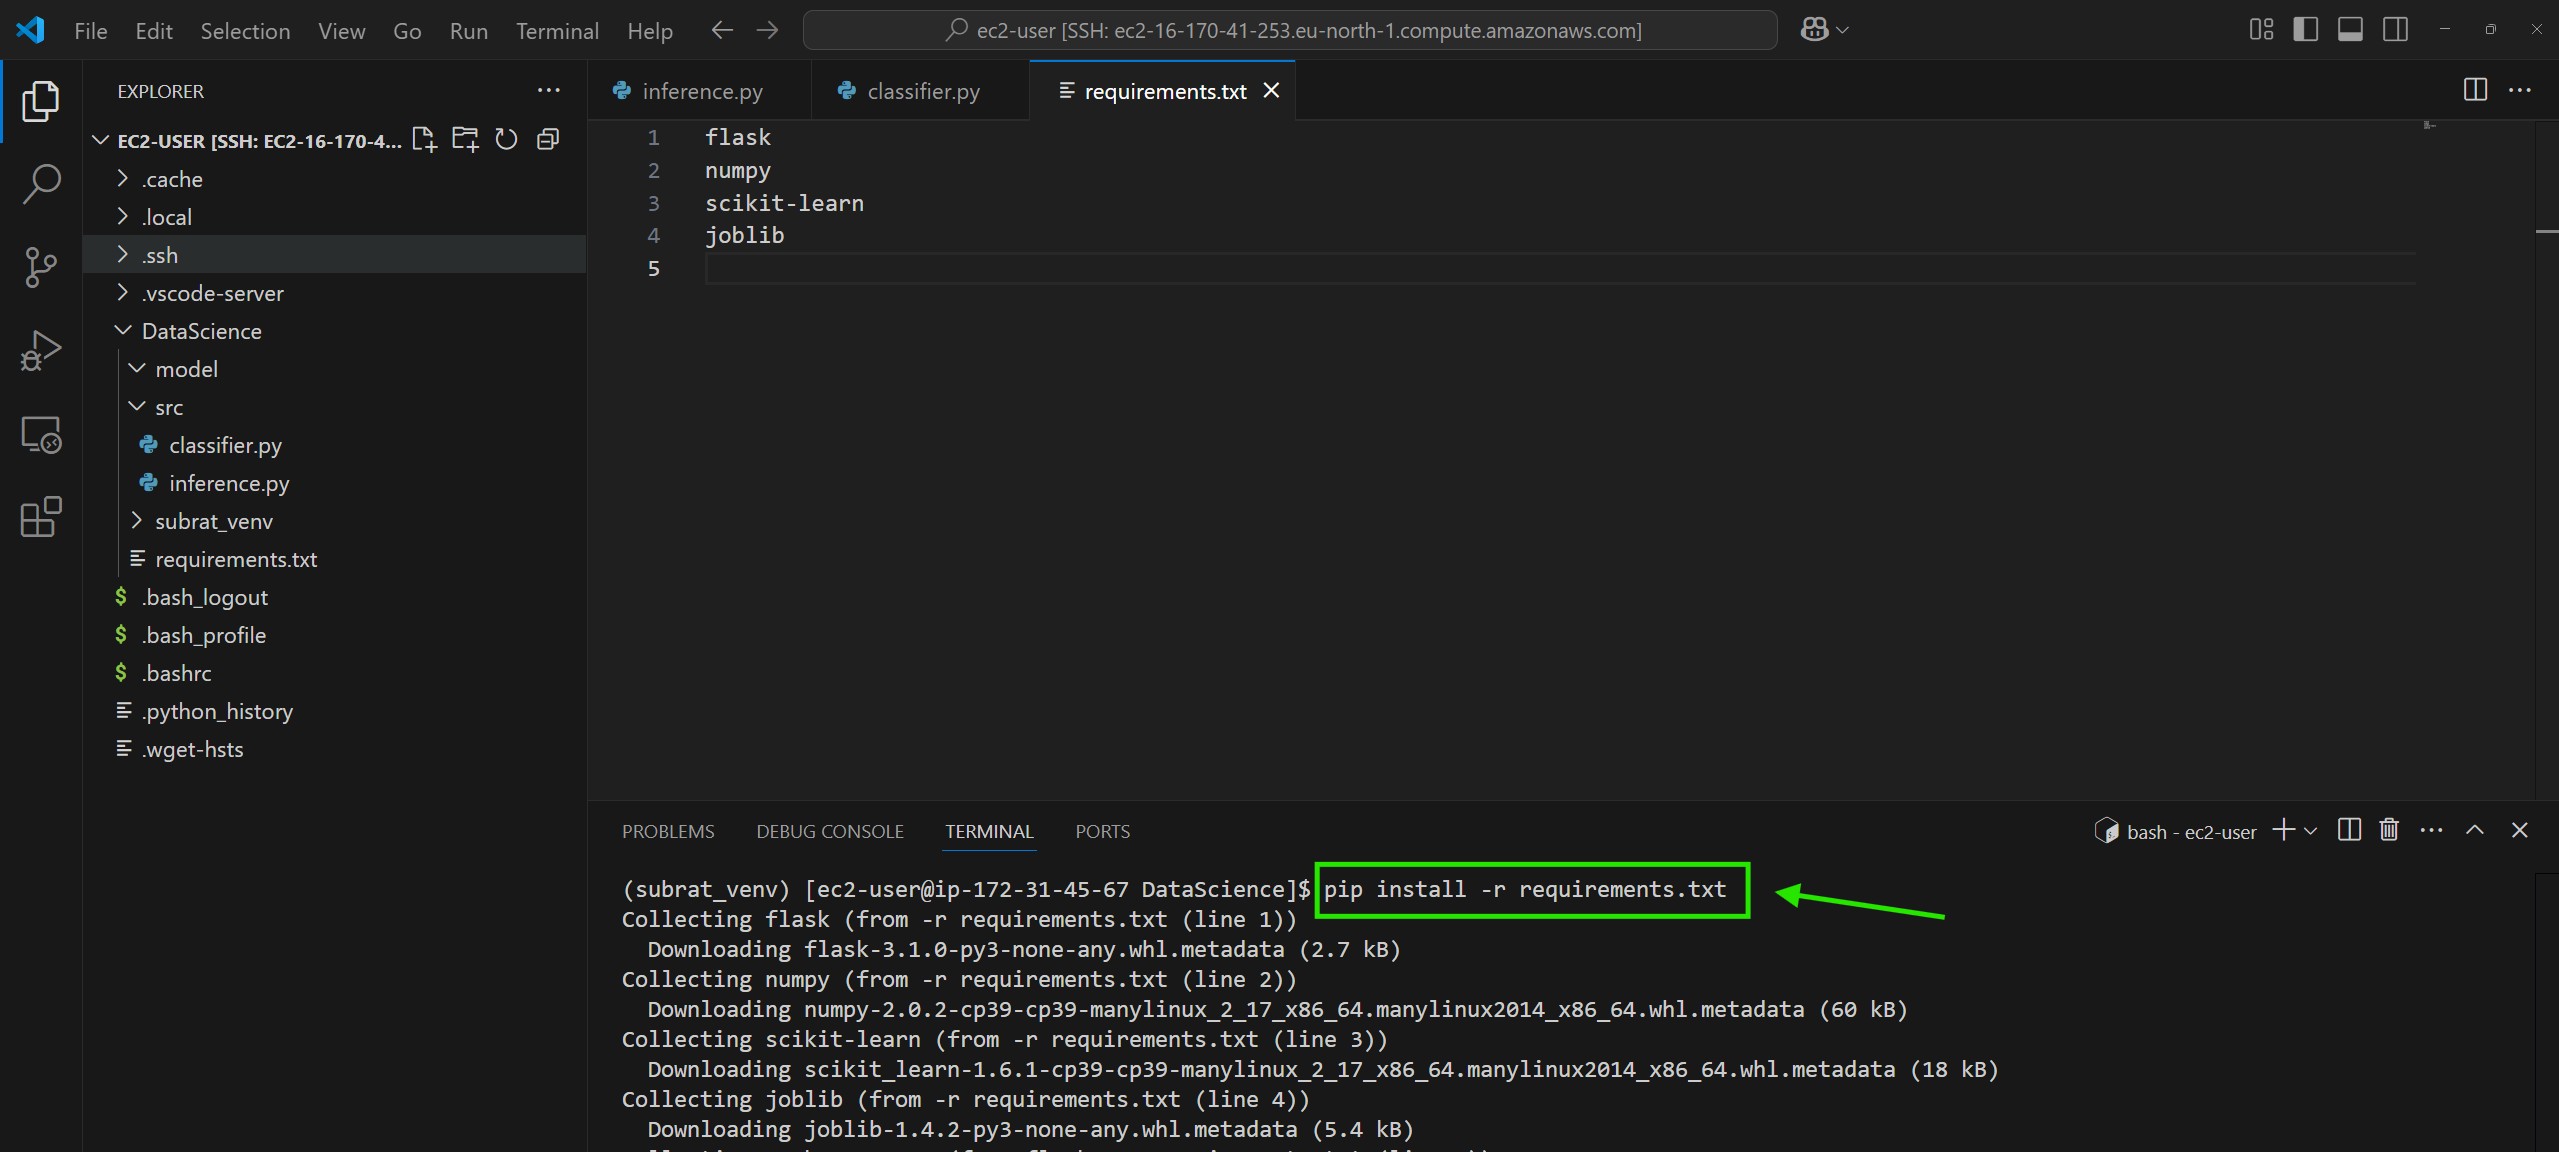
Step-4: Install The Libraries From Requirements.txt
pip install -r requirements.txt
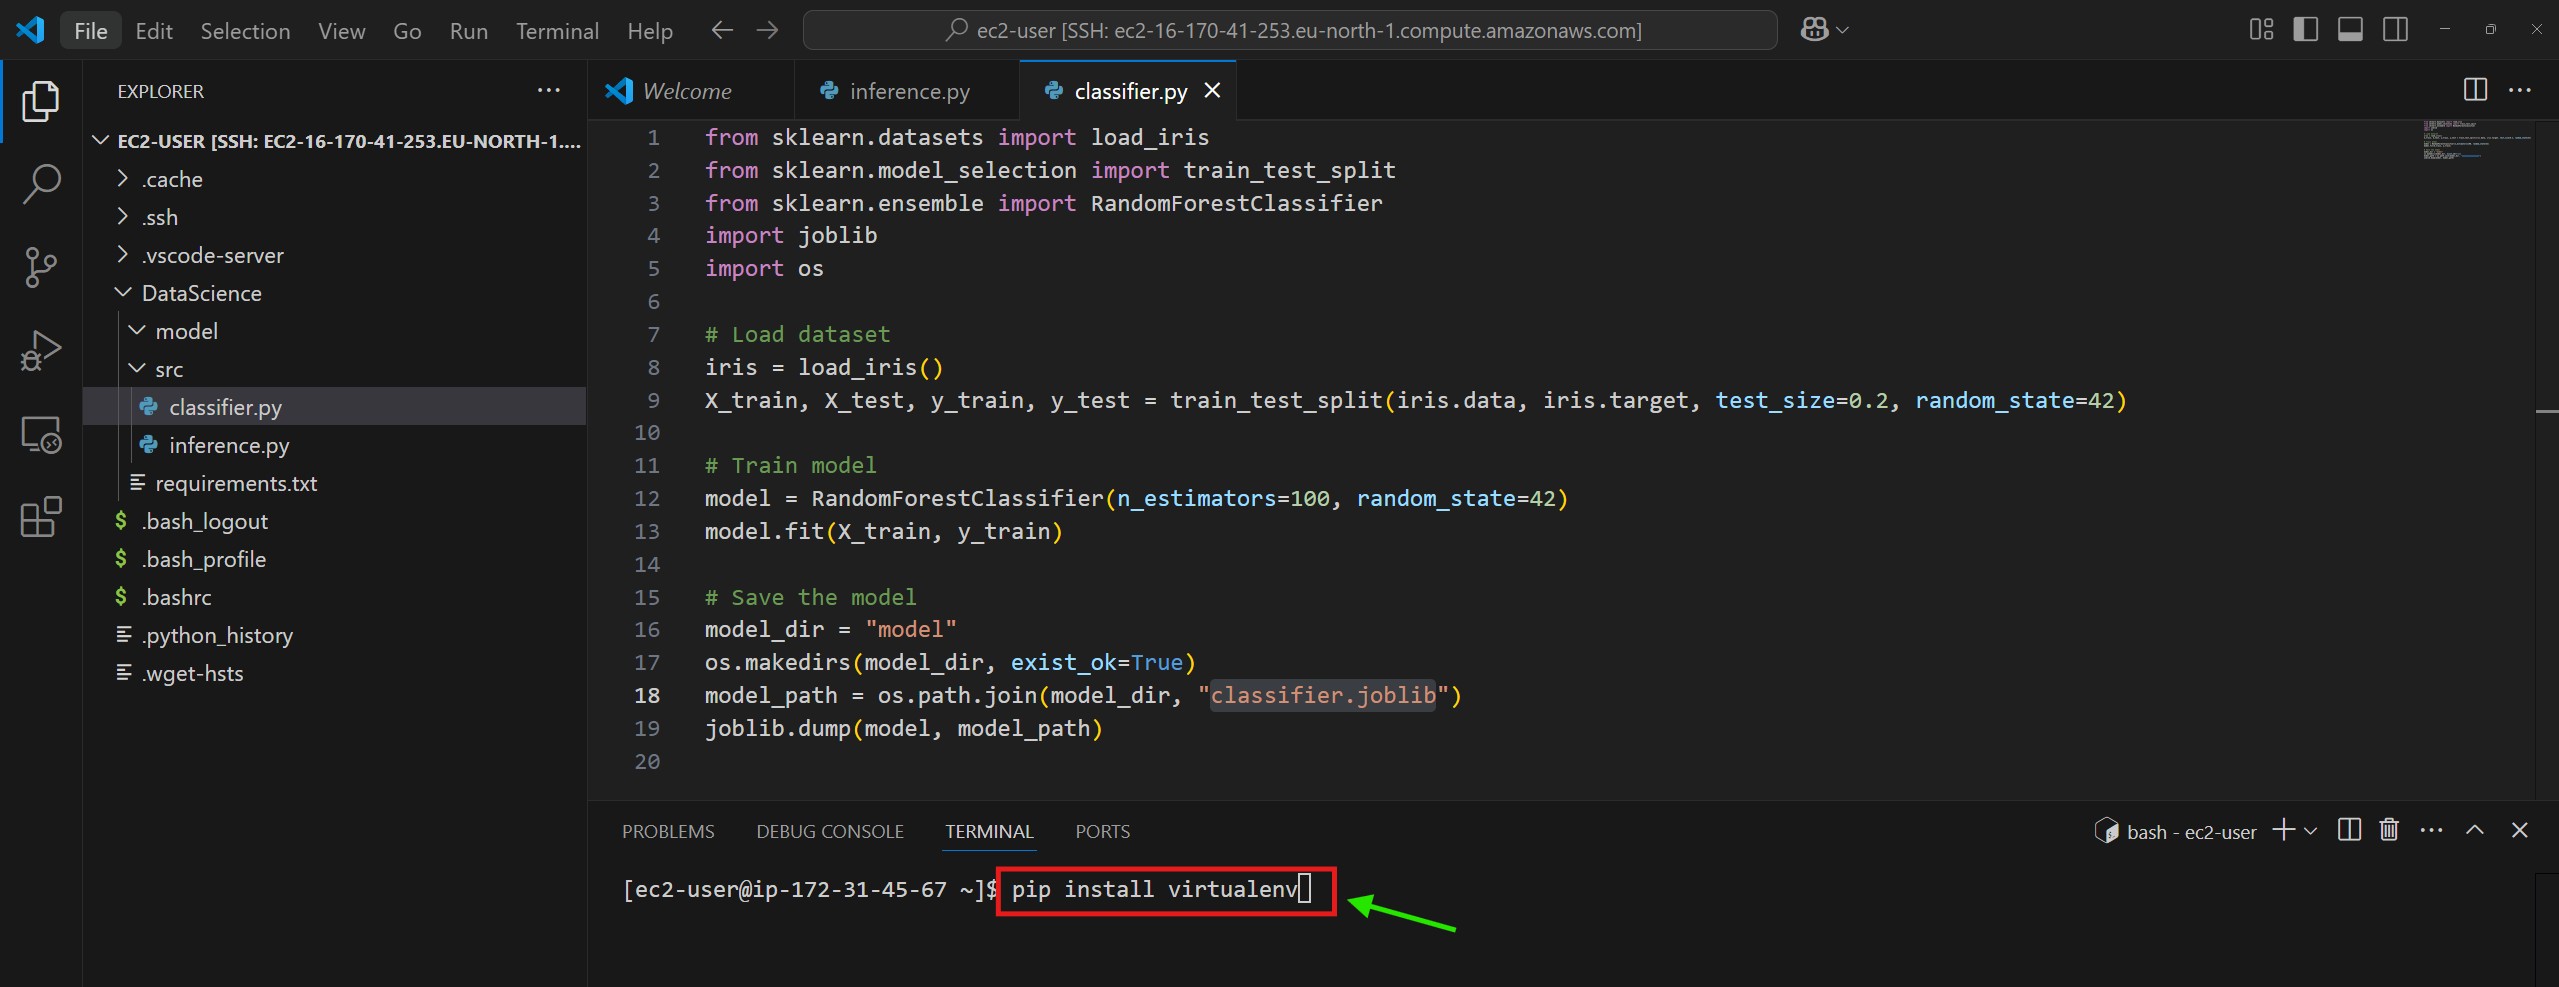
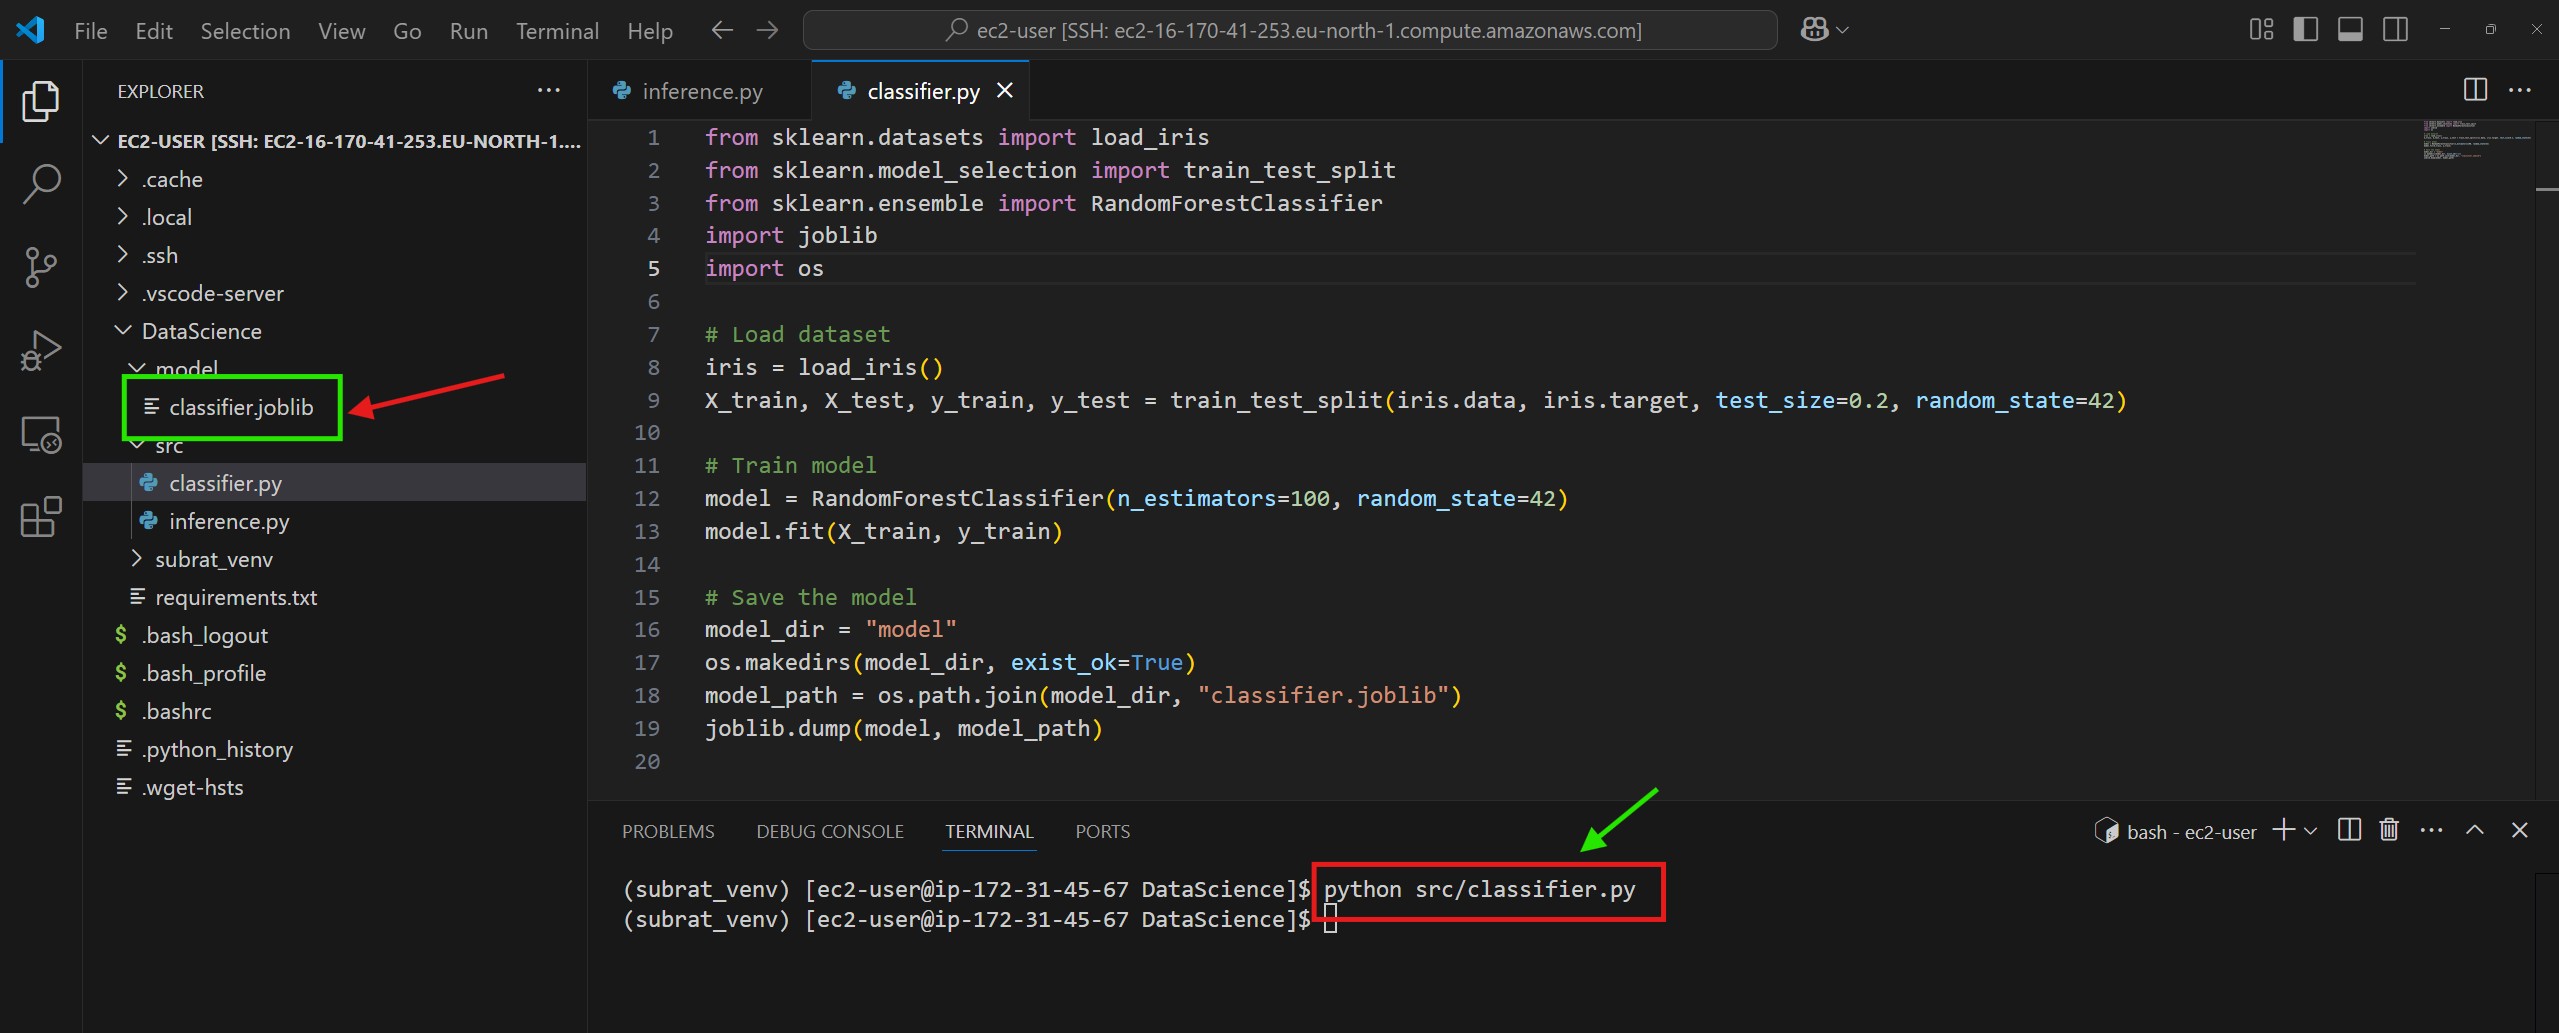
Step-5: Run The ‘classifier.py’ File
src/classifier.py
from sklearn.datasets import load_iris
from sklearn.model_selection import train_test_split
from sklearn.ensemble import RandomForestClassifier
import joblib
import os

# Load dataset
iris = load_iris()
X_train, X_test, y_train, y_test = train_test_split(iris.data, iris.target, test_size=0.2, random_state=42)

# Train model
model = RandomForestClassifier(n_estimators=100, random_state=42)
model.fit(X_train, y_train)

# Save the model
model_dir = "model"
os.makedirs(model_dir, exist_ok=True)
model_path = os.path.join(model_dir, "classifier.joblib")
joblib.dump(model, model_path)
python src/classifier.py
It will create a “classifier.joblib” model inside the “model” folder.
Step-6: Create The ‘inference.py’ File.
src/inference.py
import joblib
import os
import numpy as np
from flask import Flask, request, jsonify
# Create Flask app
app = Flask(__name__)
# Define model path inside the container
MODEL_PATH = "model/classifier.joblib"
# Load the model when the container starts
def load_model():
global model
if os.path.exists(MODEL_PATH):
model = joblib.load(MODEL_PATH)
else:
raise FileNotFoundError(f"Model file not found at {MODEL_PATH}")
load_model() # Load model at startup
@app.route('/ping', methods=['GET'])
def ping():
"""Health check endpoint"""
return jsonify({"status": "Healthy"}), 200
@app.route('/invocations', methods=['GET'])
def predict():
"""Inference endpoint"""
try:
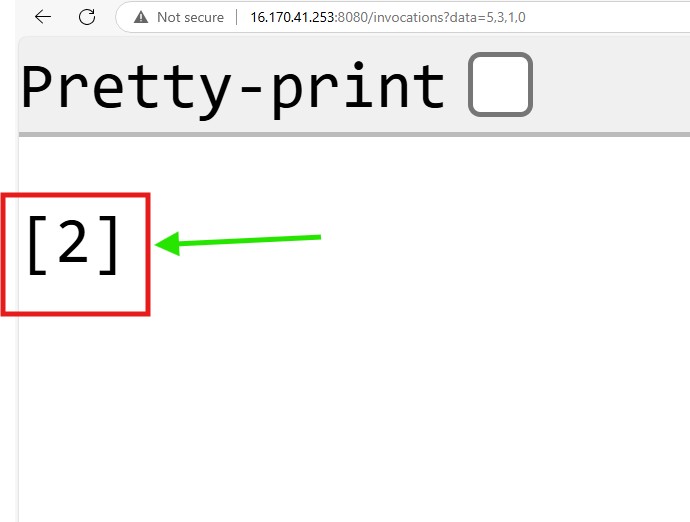
data_str = request.args.get("data") # Example: "5.1,3.5,1.4,0.2", http://16.170.41.253:8080/invocations?data=5.1,3.5,1.4,0.2
if not data_str:
return jsonify({"error": "Missing 'data' parameter"}), 400
# Convert the comma-separated string into a NumPy array
input_data = np.array([list(map(float, data_str.split(",")))])
# Make prediction
predictions = model.predict(input_data).tolist()
return jsonify(predictions)
except Exception as e:
return jsonify({"error": str(e)}), 400
# Run Flask app
if __name__ == '__main__':
app.run(host='0.0.0.0', port=8080)
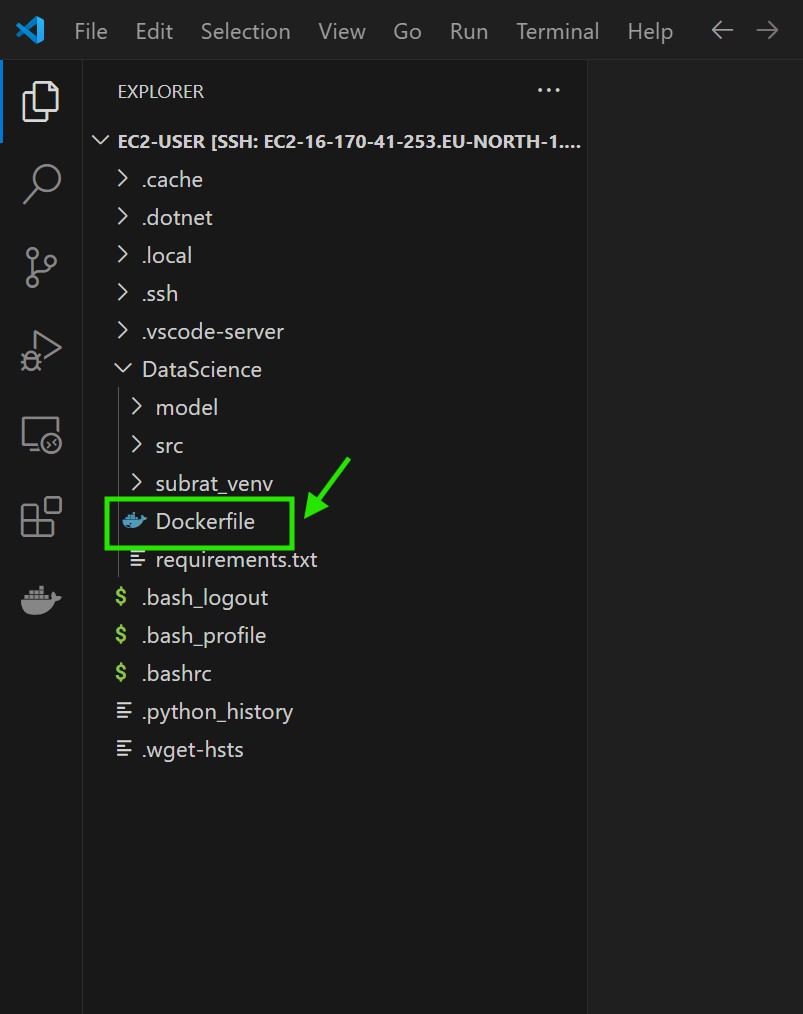
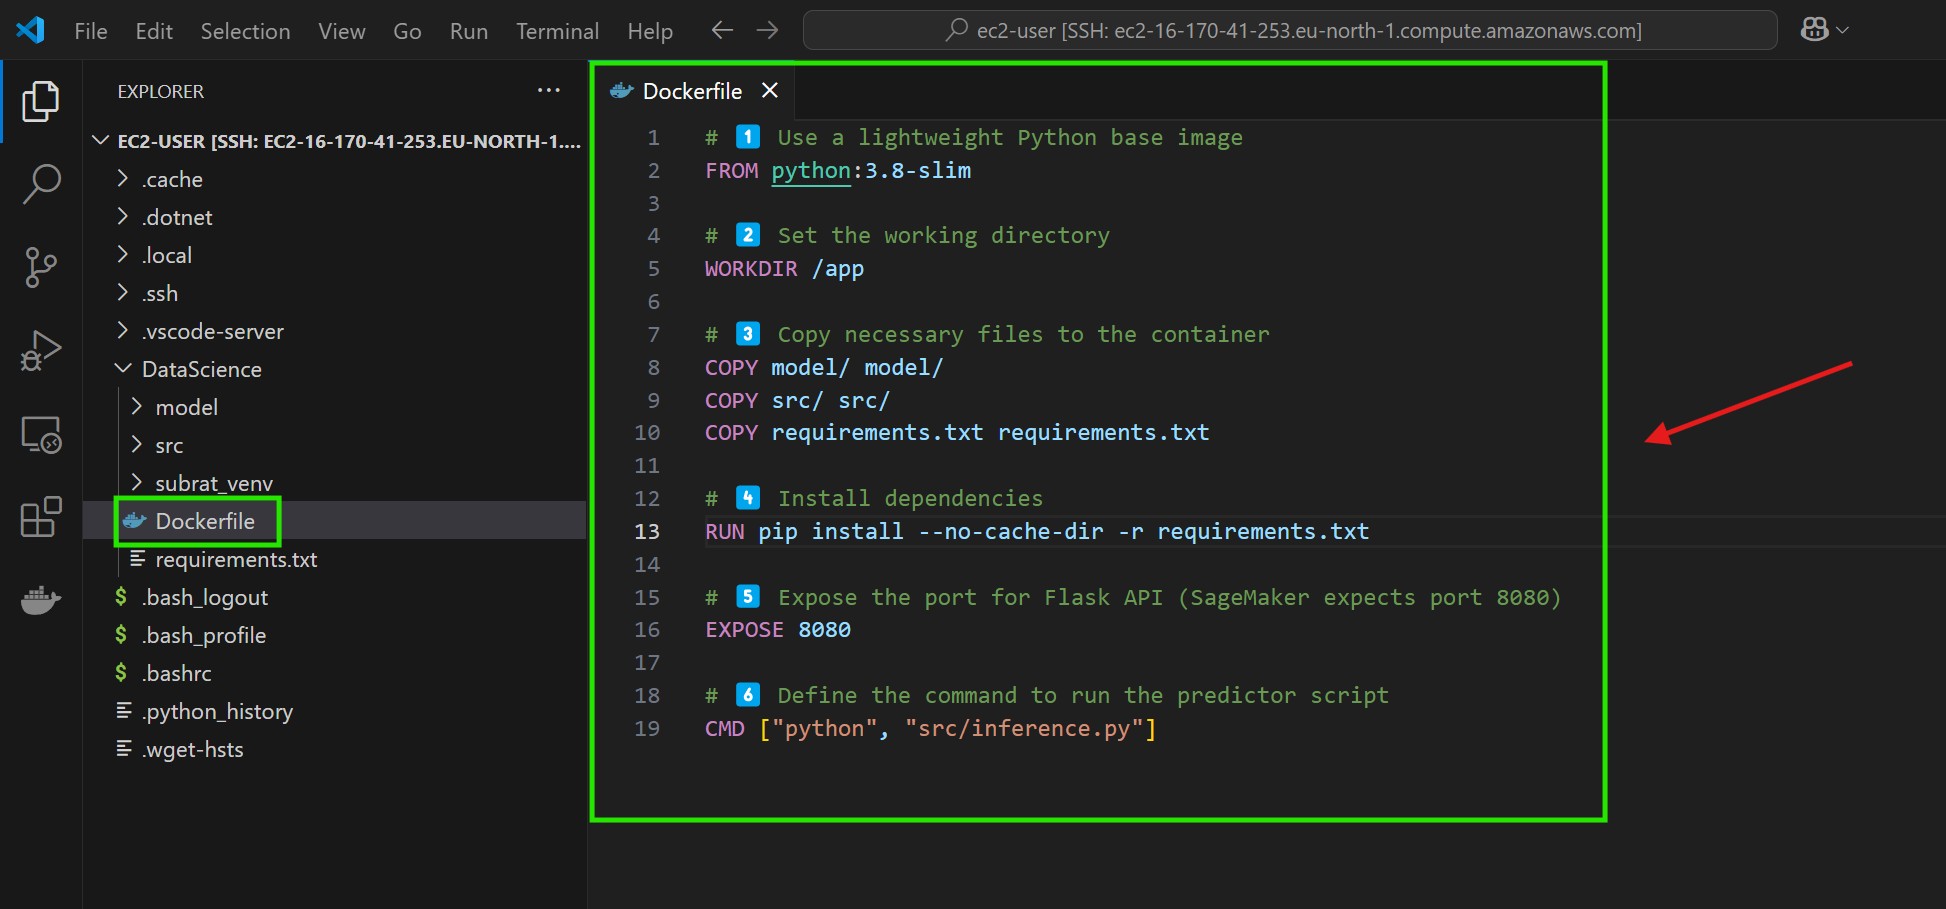
Step-7: Create a Dockerfile
A Dockerfile is a script that automatesthe process of creating a Docker container.
It contains step-by-step instructions to set up the environment, install dependencies, and run the application inside an isolated container.
Dockerfile
# 1️⃣ Use a lightweight Python base image
FROM python:3.8-slim
# 2️⃣ Set the working directory
WORKDIR /app
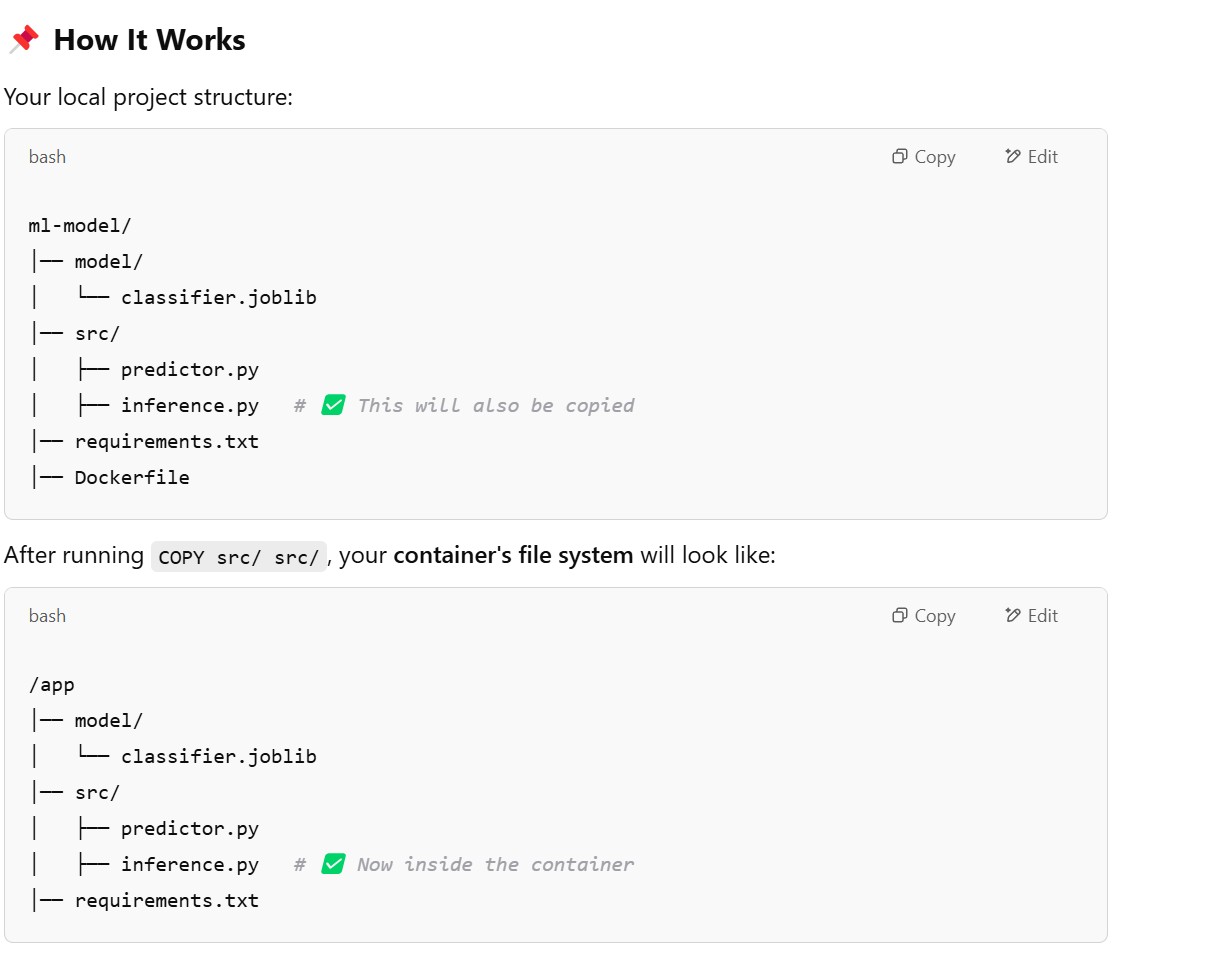
# 3️⃣ Copy necessary files to the container
COPY model/ model/
COPY src/ src/
COPY requirements.txt requirements.txt
# 4️⃣ Install dependencies
RUN pip install – no-cache-dir -r requirements.txt
# 5️⃣ Expose the port for Flask API (SageMaker expects port 8080)
EXPOSE 8080
# 6️⃣ Define the command to run the predictor script
CMD ["python", "src/inference.py"]
Parts Of The Docker File:
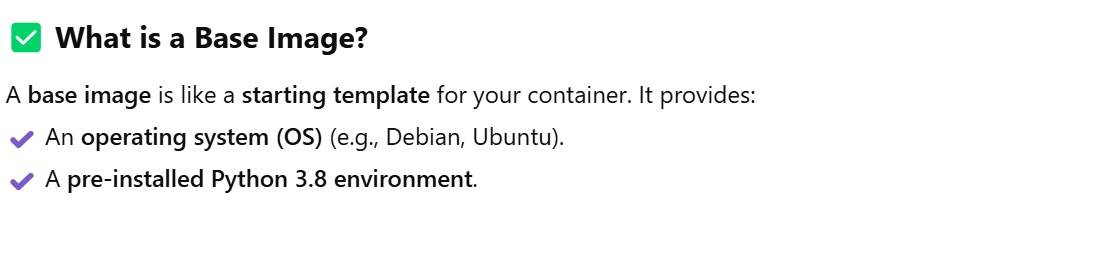
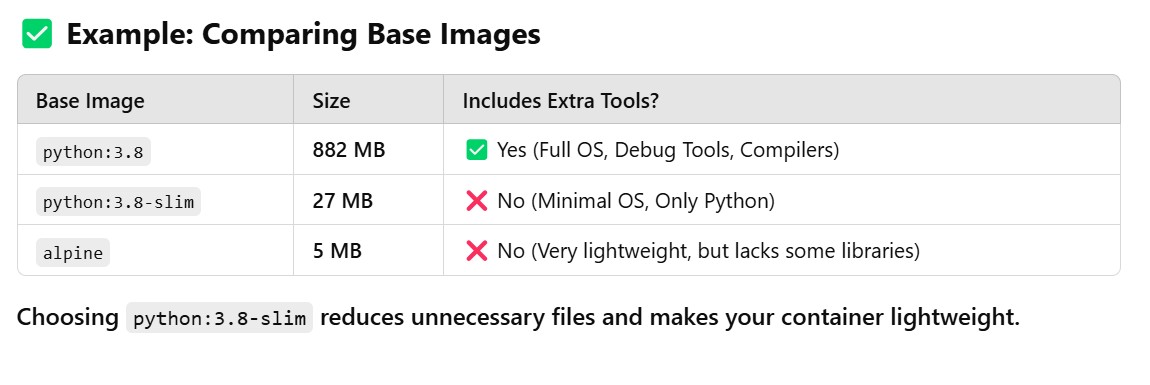
# 1️⃣ Base Image:
FROM python:3.8-slim
you’re not just pulling Python—you’re pulling a pre-built image that includes Python installed on a minimal Debian OS.
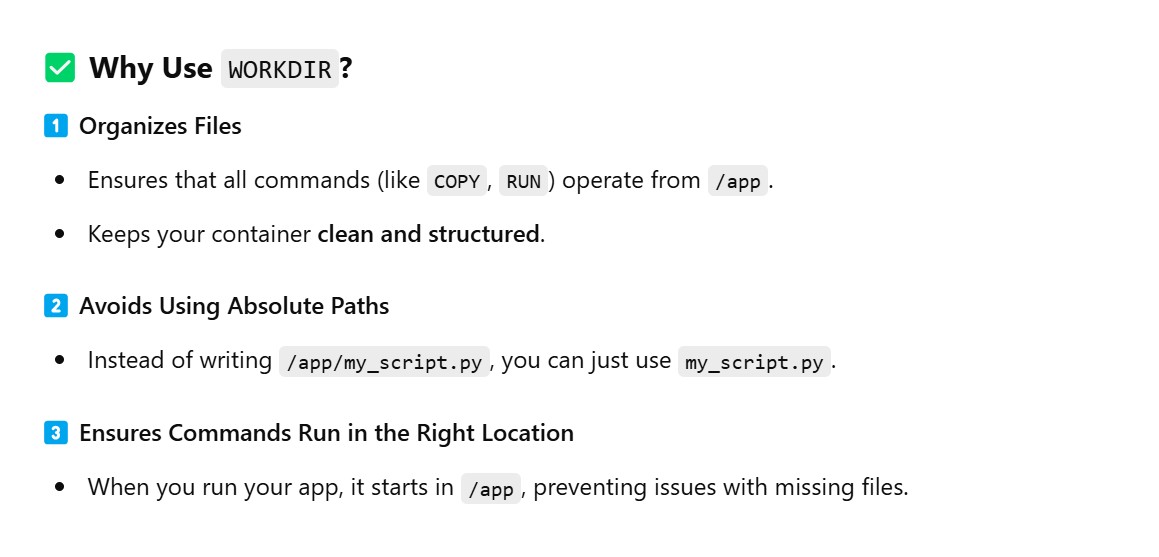
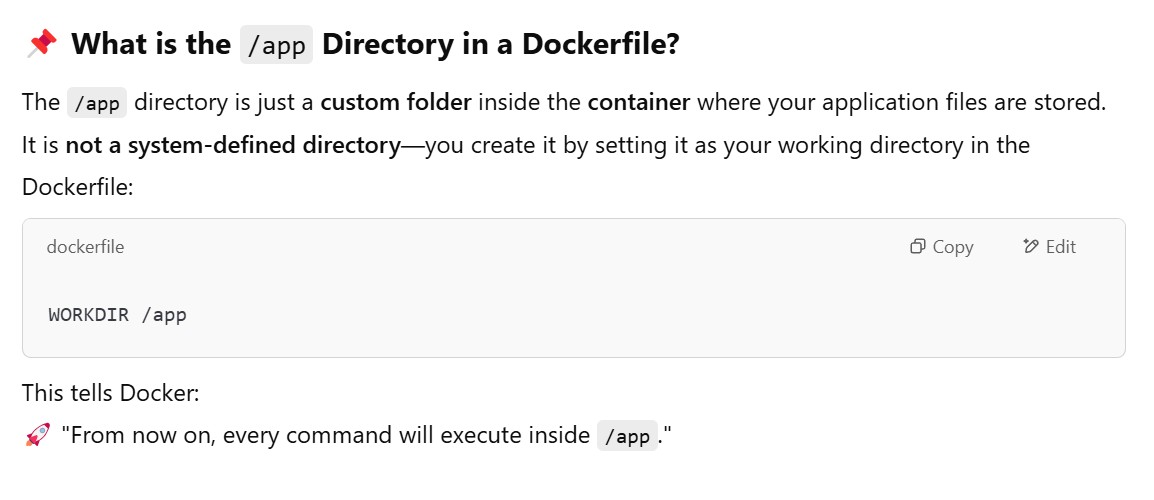
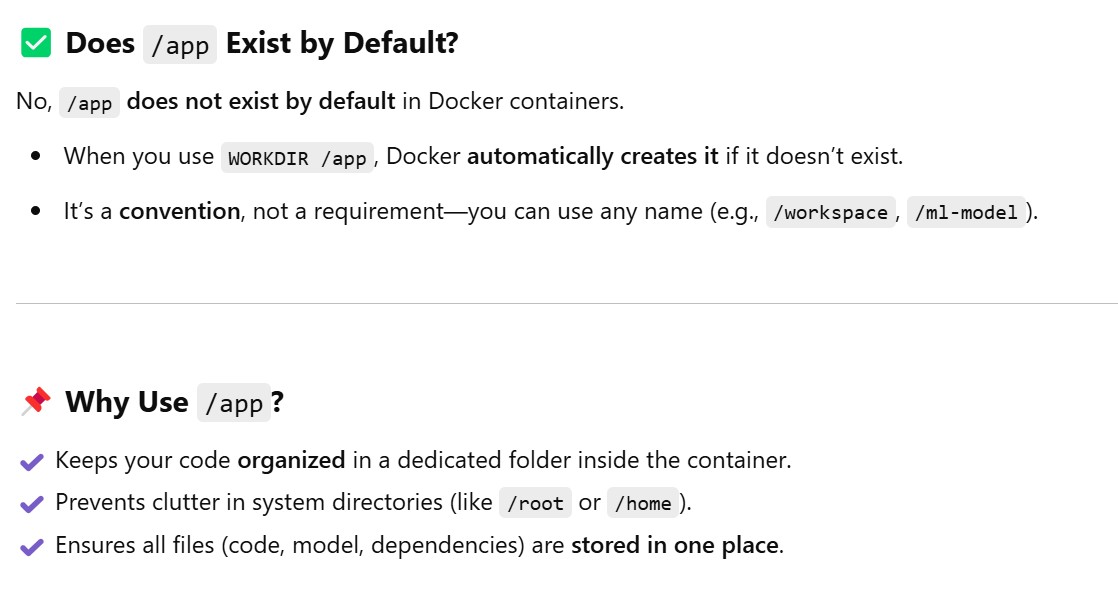
# 2️⃣ Why Use WORKDIR?
# 2️⃣ Set the working directory
WORKDIR /app
The WORKDIR command sets the working directory inside the container.
It’s like running cd /app before executing further commands.
RUN pip install – no-cache-dir -r requirements.txt
Installs all dependencies listed in requirements.txt
Uses --no-cache-dir to prevent caching, reducing image size
# 5️⃣ Expose the port for Flask API (SageMaker expects port 8080)
EXPOSE 8080
The EXPOSE 8080 instruction in a Dockerfile is used to document that the container will listen on port 8080.
This tells Docker that the application inside the container will be serving requests on this port. However, it doesn’t actually publish the port or make it accessible from outside the container.
To make the port accessible, you would use the -p option when running the container with docker run.
# 6️⃣ Define the command to run the predictor script
CMD ["python", "src/inference.py"]
The CMD ["python", "src/predictor.py"] instruction in a Dockerfile specifies the command that will be run when the container starts.
In this case, it will execute the predictor.py script located in the src directory of your container’s filesystem using the python interpreter.
python: This is the command that starts the Python interpreter inside the container.
src/predictor.py: This is the path to the Python script (predictor.py) that will be executed. The path is relative to the working directory set in the Docker image (if it’s not set explicitly, it defaults to the root directory /).
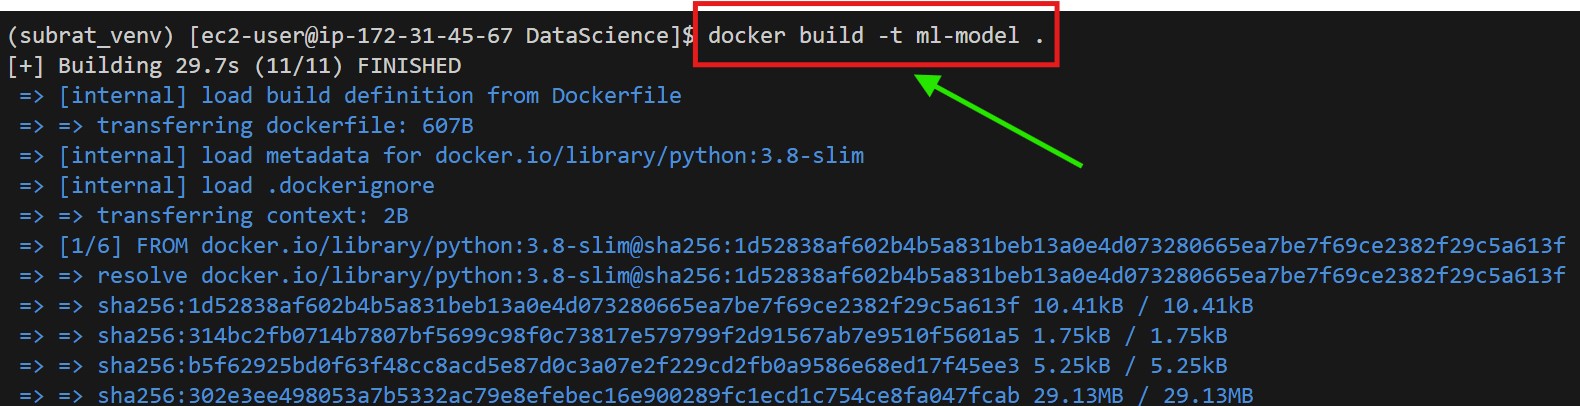
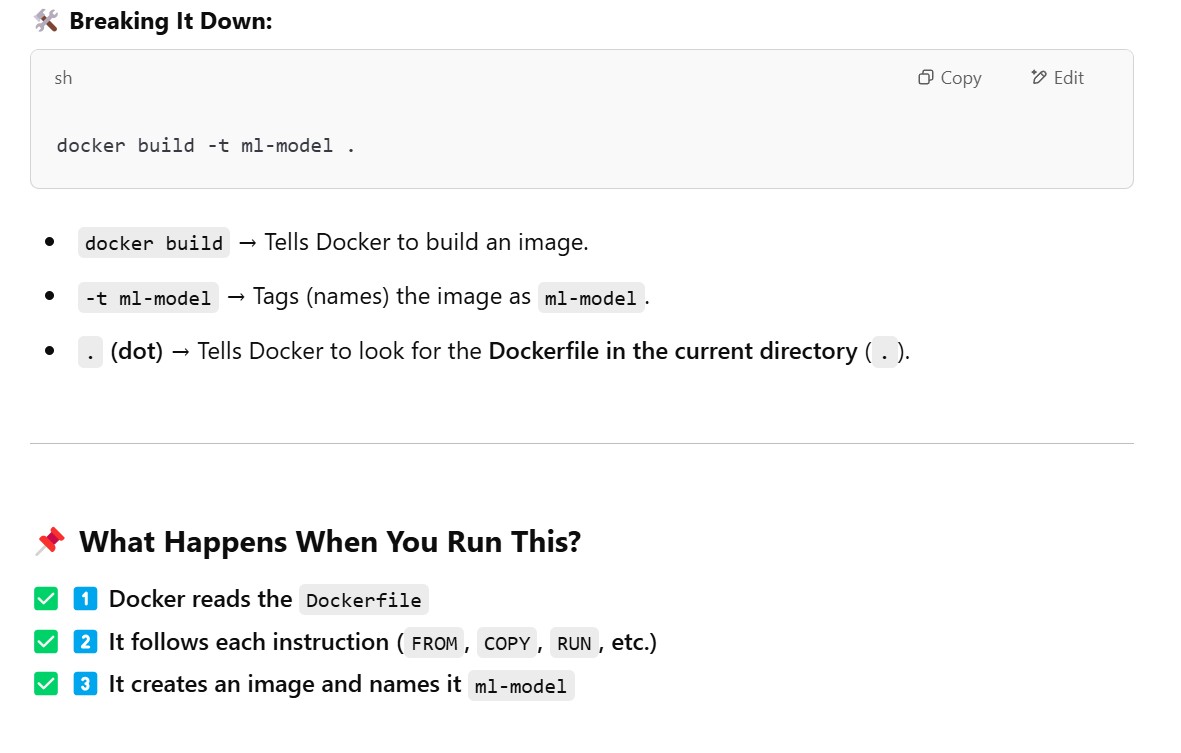
Step-8: Build and Run the Docker Image Locally
Run the following commands in the directory where Dockerfile is located.
# Build the Docker image
docker build -t ml-model .
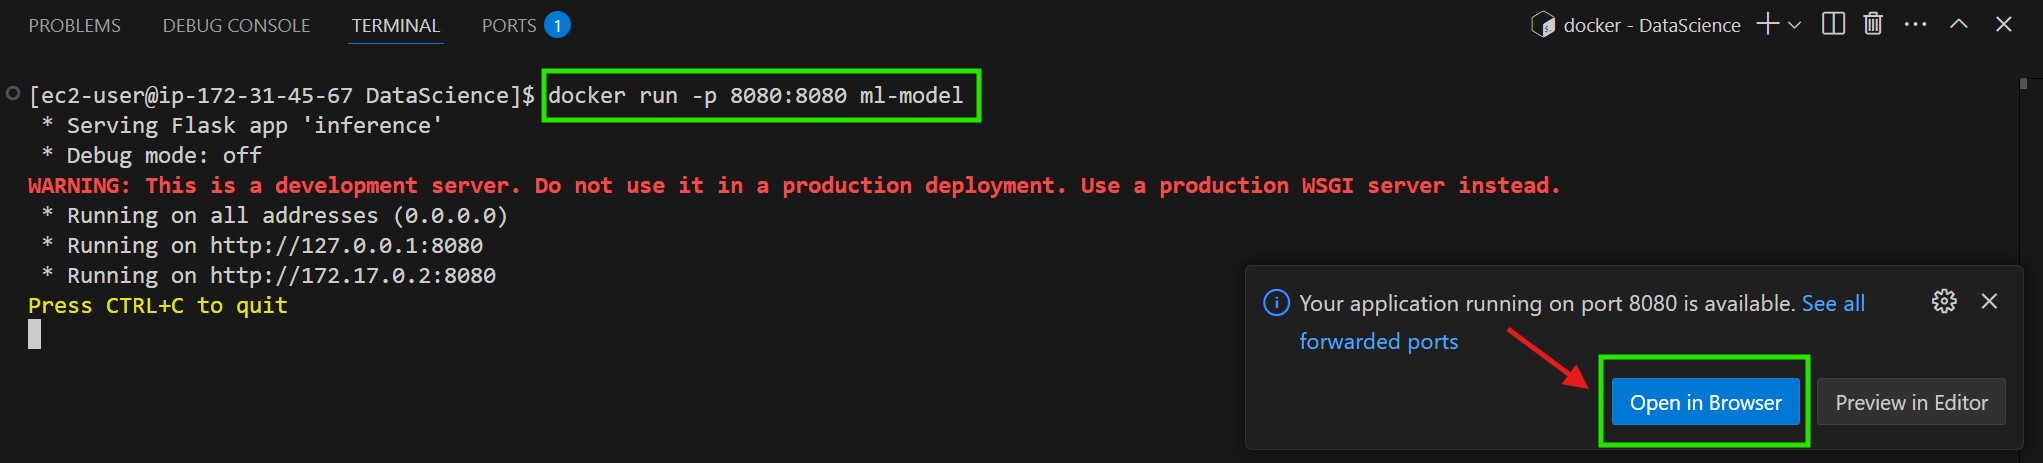
# Run the container
docker run -p 8080:8080 ml-model
# 1️⃣ Build the Docker image
# Build the Docker image
docker build -t ml-model .
# 2️⃣ Run The Container
# Run the container
docker run -p 8080:8080 ml-model
This command runs a Docker container from the ml-model image and maps port 8080 from the container to your local machine.
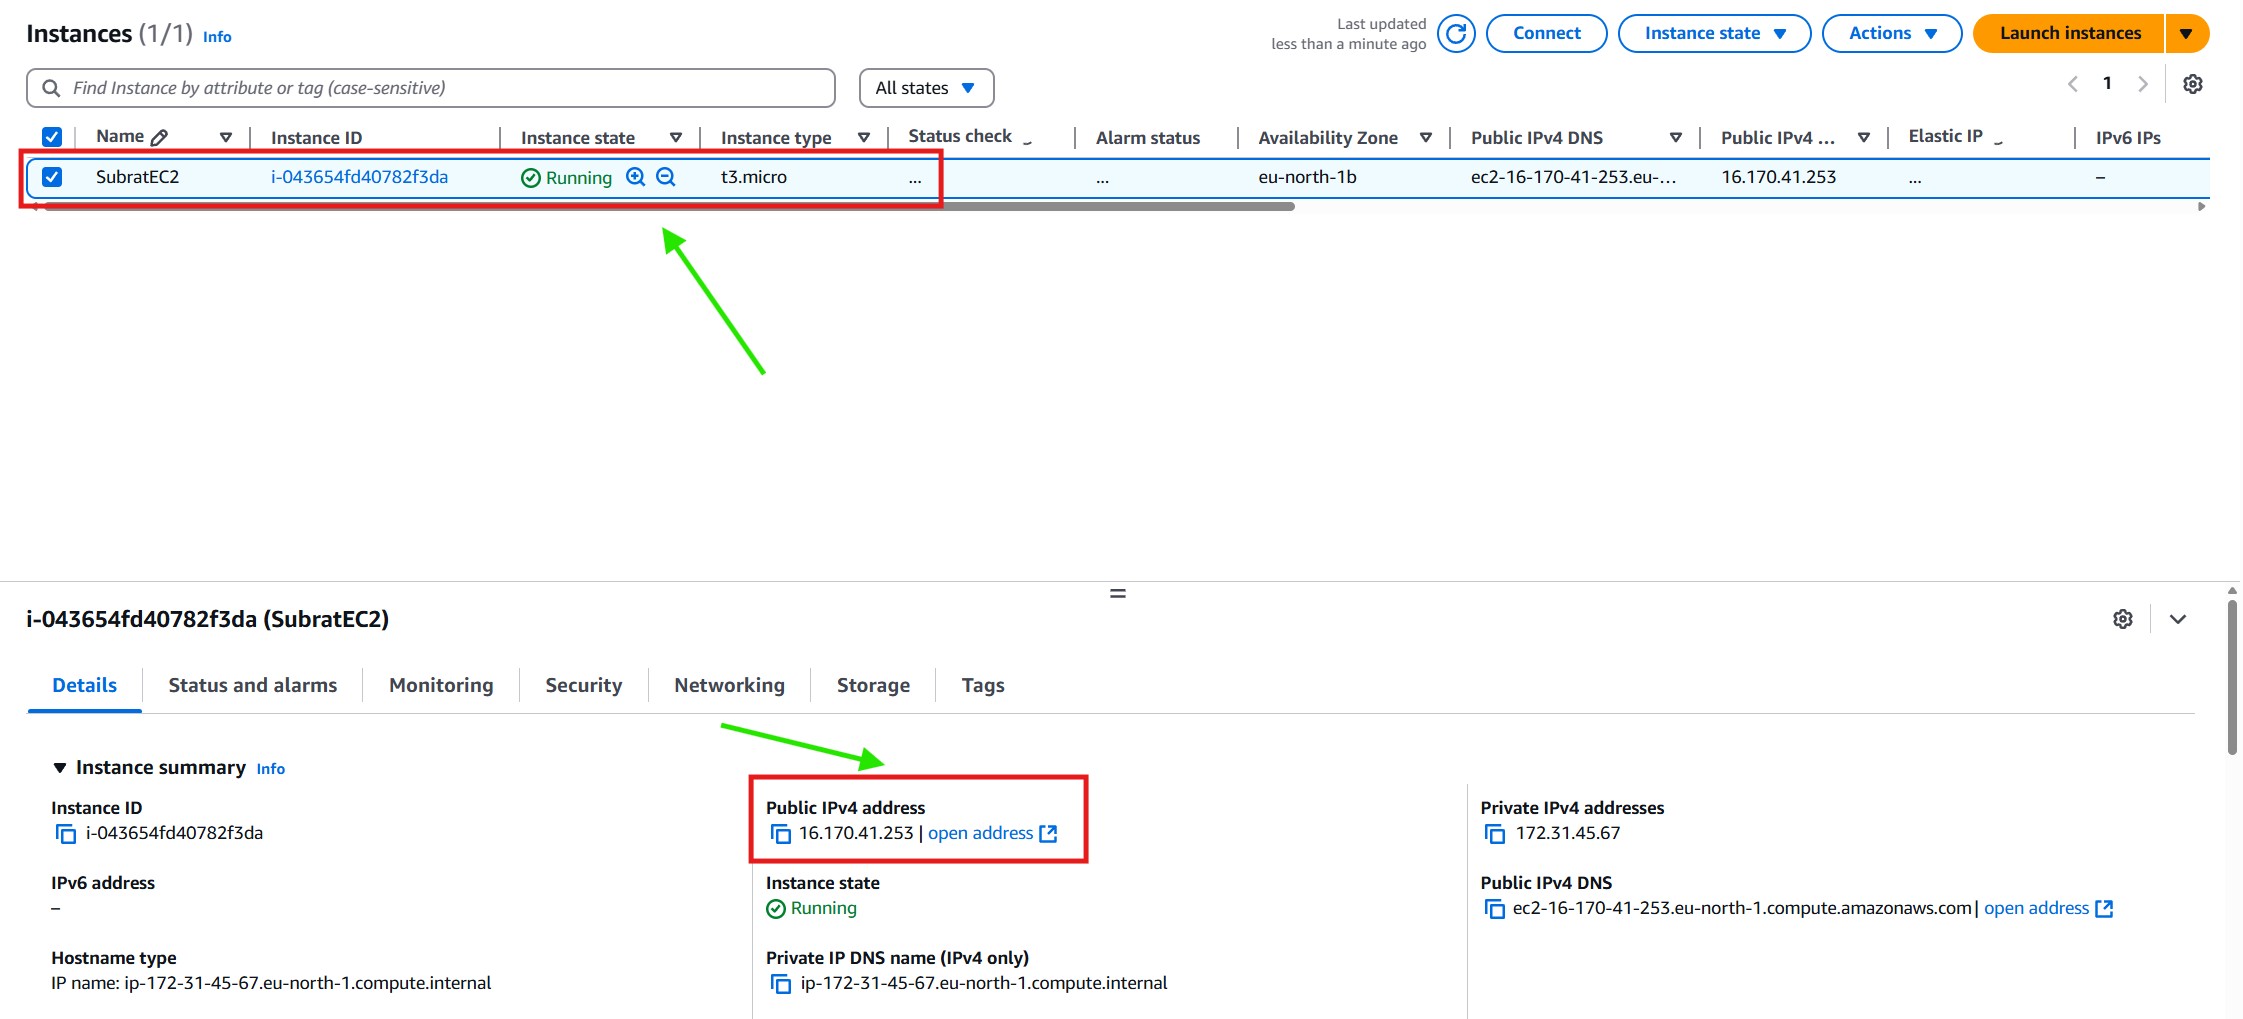
Step-8: Open The Browser
# 1️⃣ Open The URL In the Browser
# 2️⃣ Get The Public IP Address Of The EC2 Instance
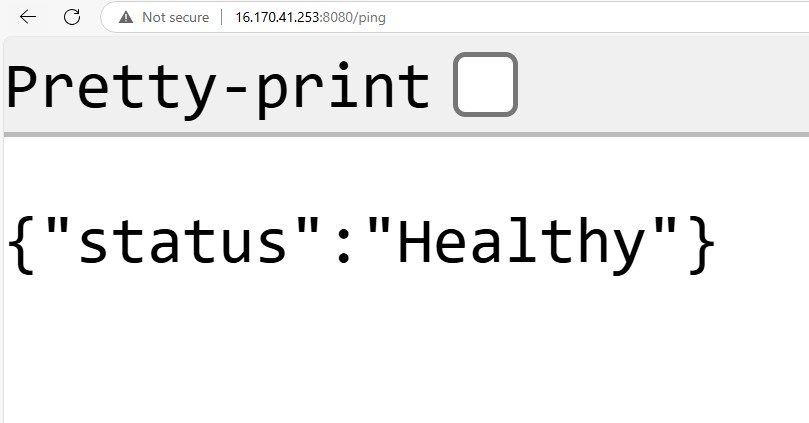
# 3️⃣ Open The EC2 Public URL & ‘ping’ Method
http://16.170.41.253:8080/ping
# 4️⃣ Open The Public URL Of EC2 & ‘Invocation’ Method