
GenAI – How To Host React JS App In AWS ?
Table Of Contents:
- Introduction.
- Steps To Host React JS App In AWS.
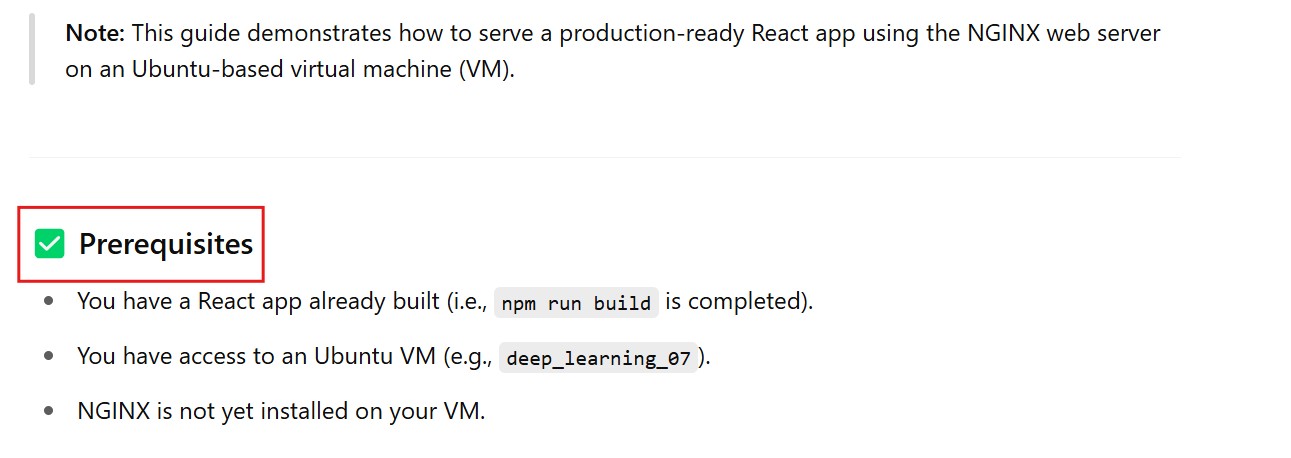
(1) Introduction.
Step-1: Update System Packages
- Update your package index to ensure you’re installing the latest versions.
sudo apt update
Step 2: Install NGINX Web Server
- Install the NGINX package using APT.
sudo apt install nginx
Step-3: Upload the React Build Folder To The VM
- Upload The Build Folder Of The React Js App To The Virtual Machine.(deep_learning_07)
- On your local machine, navigate to the React app directory, and manually drag the
/buildfolder to the VM, placing it inside a target folder (e.g.,/home/Subrat).
Step-4: Remove Existing Files In The Default Web Directory
- Clear any default HTML files from the NGINX web root directory:
sudo rm -rf /var/www/html/*
Step-5: Copy the Build Files To The Web Root Directory
- Copy the contents of the React
buildfolder to the NGINX web root:
sudo cp -r /home/Subrat/build/* /var/www/html/
Step-6: Verify The Files Have Been Uploaded
- List the contents of the
/var/www/html/directory to confirm:
ls -l /var/www/html/
Step-7: Open the NGINX Default Configuration File
- Edit the default site configuration:
sudo nano /etc/nginx/sites-available/default
Step-8: Update the NGINX Configuration
- Modify the file to look like this (replace
10.159.106.140with your VM’s IP address):
server {
    listen 80;
    server_name 10.159.106.140;

    location / {
        root /var/www/html;
        index index.html;
        try_files $uri $uri/ /index.html;
    }
}
Step 9: Save and Exit the File
Save:
Ctrl + O, then pressEnterExit:
Ctrl + X
Step 10: Test The NGINX Configuration
- Check for any syntax errors:
sudo nginx -t
- You should see:
nginx: configuration file /etc/nginx/nginx.conf test is successful
Step 11: Restart NGINX
- Apply the changes by restarting the NGINX server:
sudo systemctl restart nginx
Step 12: Access the React App in Browser
- Open your browser and go to:
http://10.159.106.140
- If everything was done correctly, your React app should now be live!