How To Create An Virtual Environment In Amazon SageMaker ?
Table Of Contents:
- Example-1
- Example-2
Step:1 – Open AWS Console

Step:2 – Open Amazon SageMaker.

Step:3 – Open Studio Classic

Step:4 – Create A Jupyter Notebook File.

Step:5 – Click On Lunch Terminal
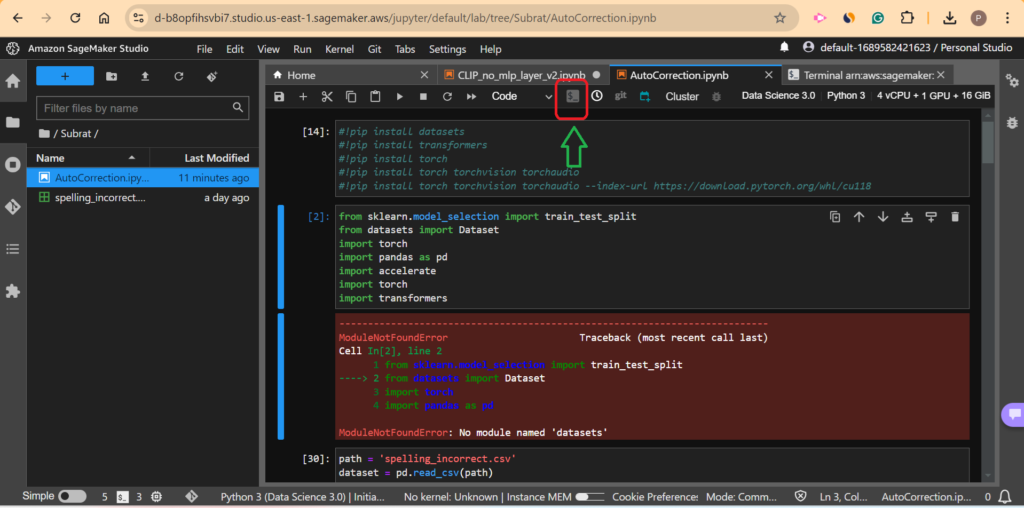
Step:6 – A New Terminal Will Open
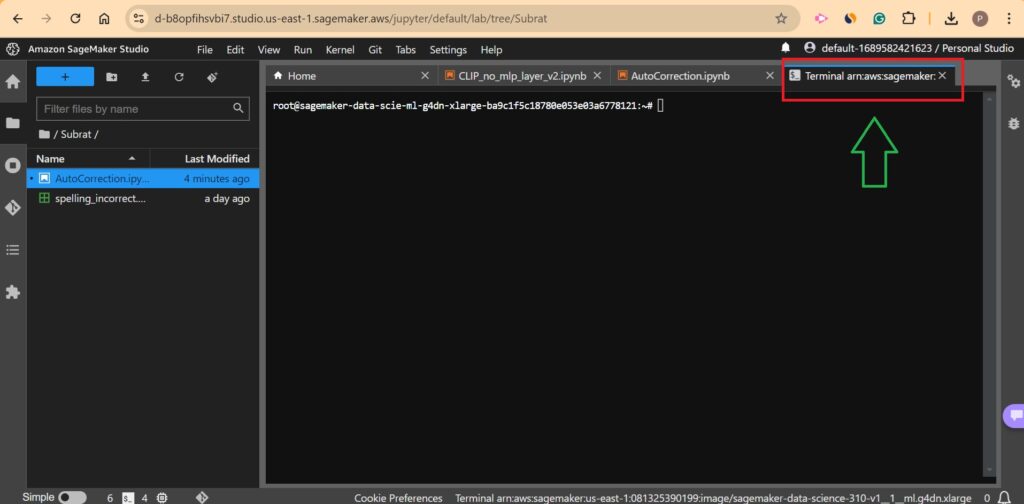
Step:7 – Go To Base Directory
source ~/.bashrc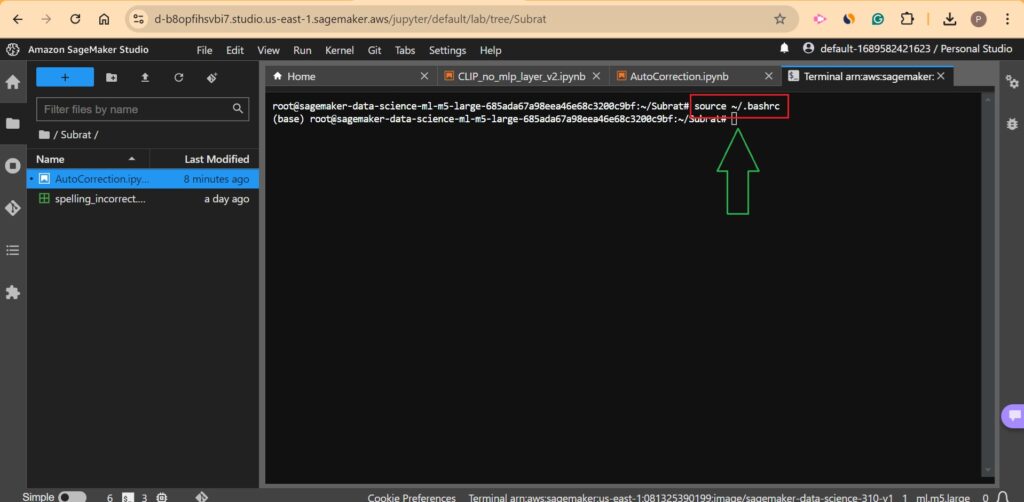
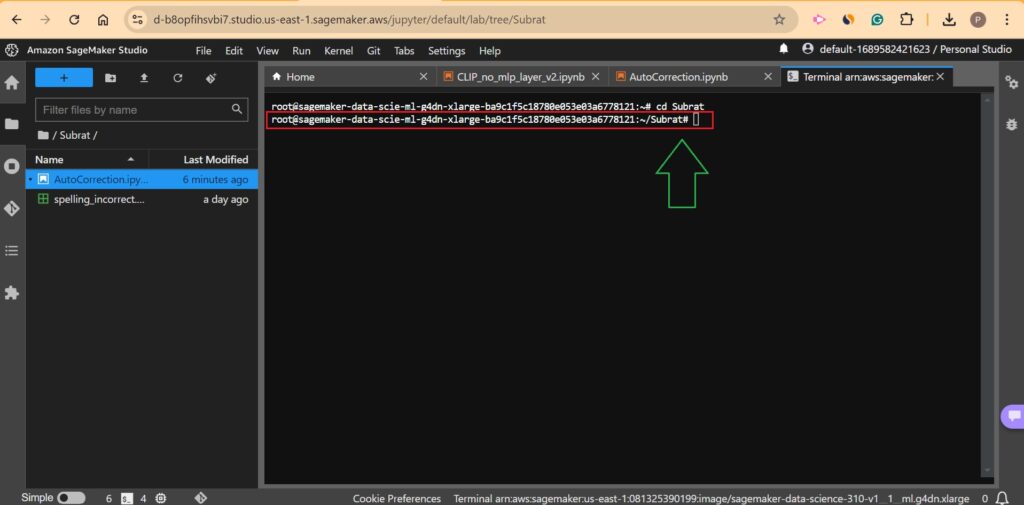
Step:8 – Go To Directory Where You Want To Create An Environment.
cd Subrat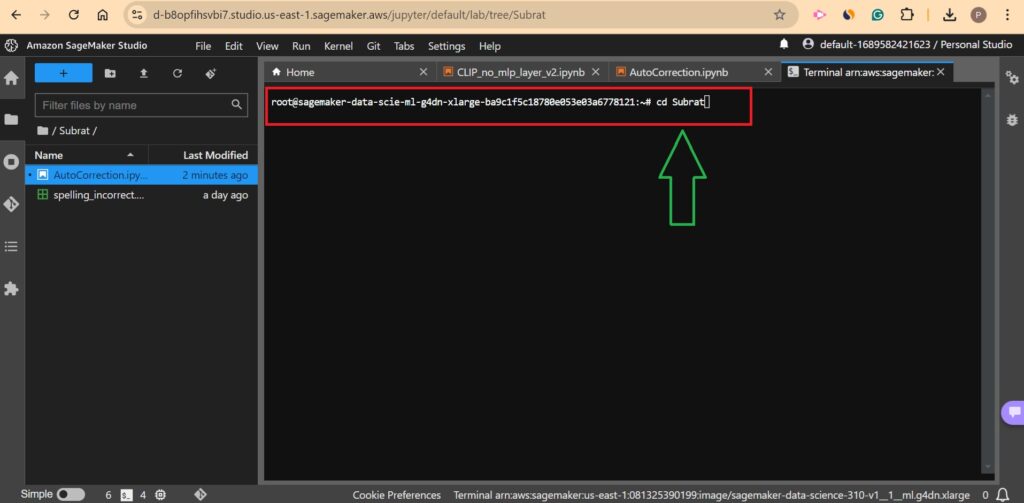
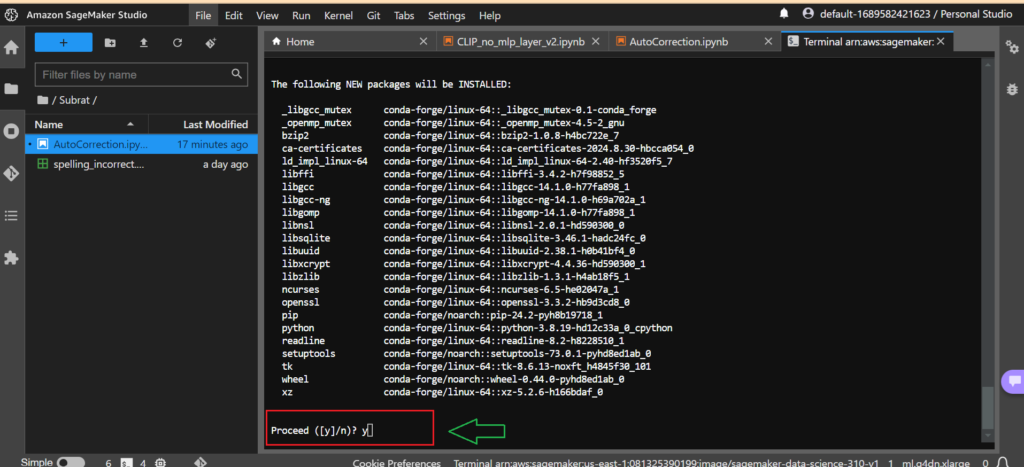
Step:9 – Create Conda Environment
conda create – name spellenv python=3.8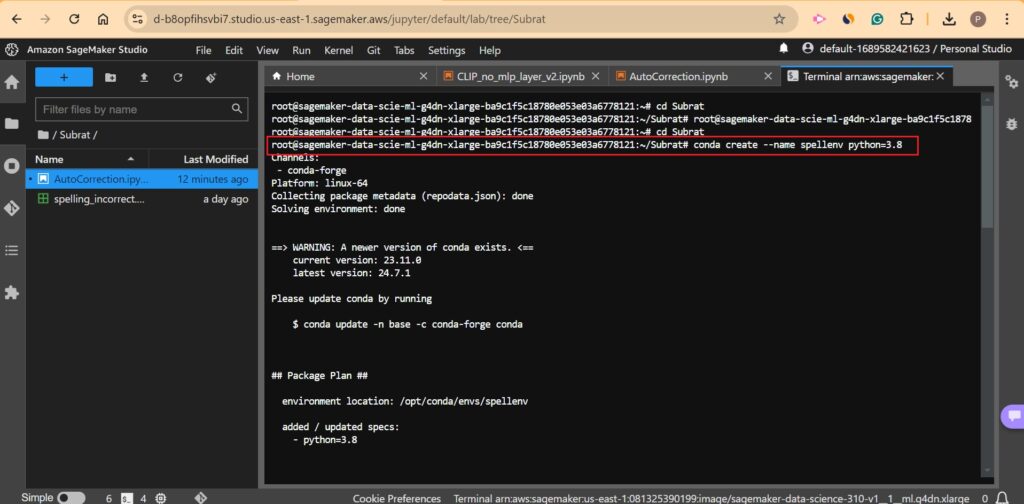
Step:10 – Check Whether Environment Is Created Or Not
conda env list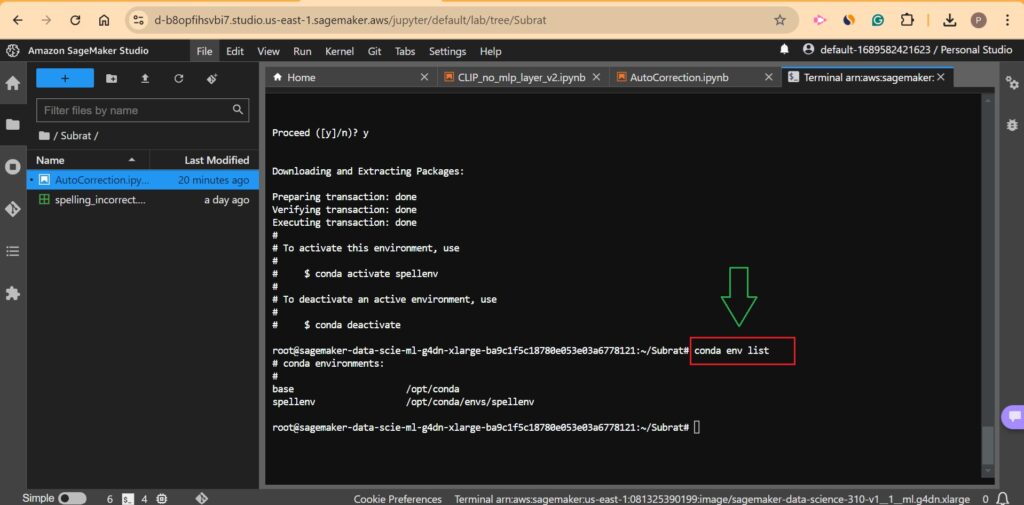
Step:11 – Activate Condas Environment
conda activate spellenv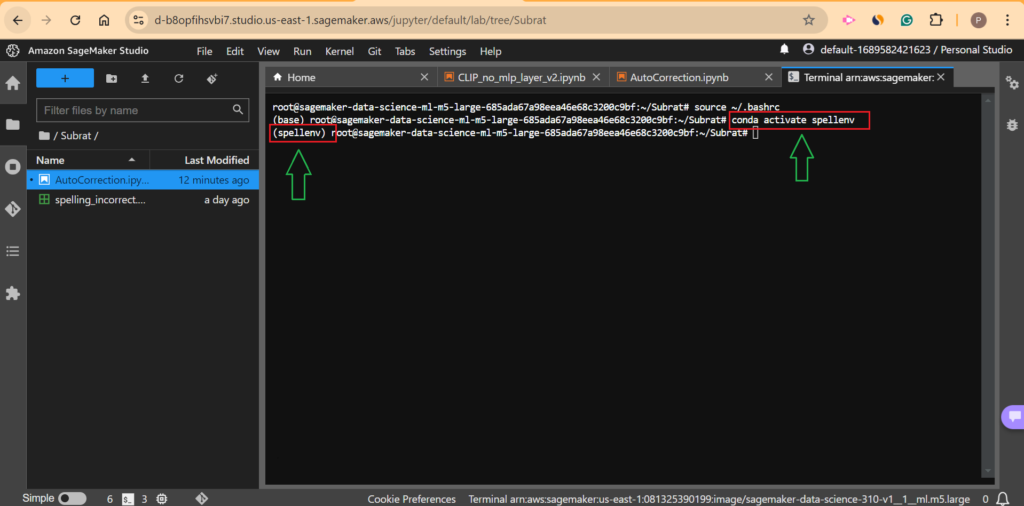
Step:12 – Install Required Libraries In The Environment
pip install datasets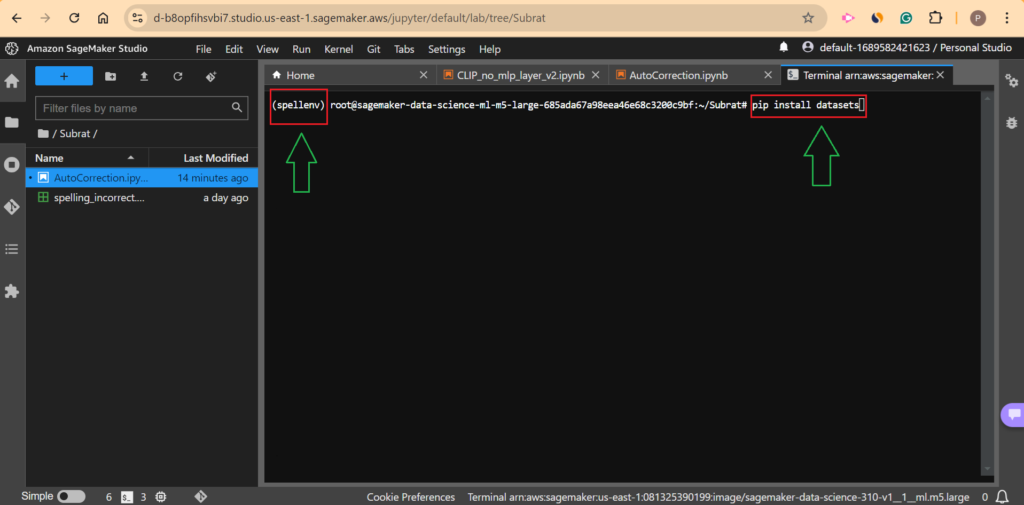
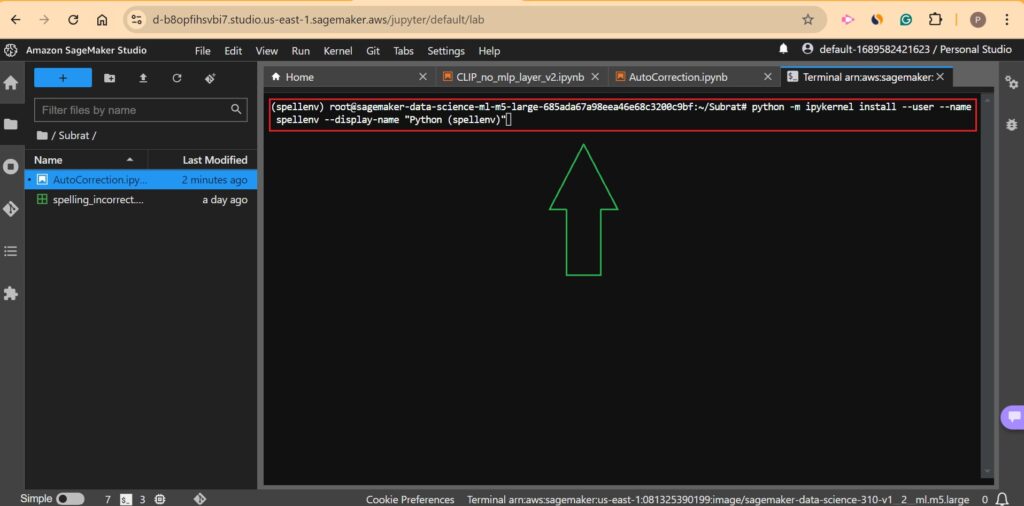
Step:13 – How To Link The Newly Created Environment To JupyterLab ?
conda install ipykernel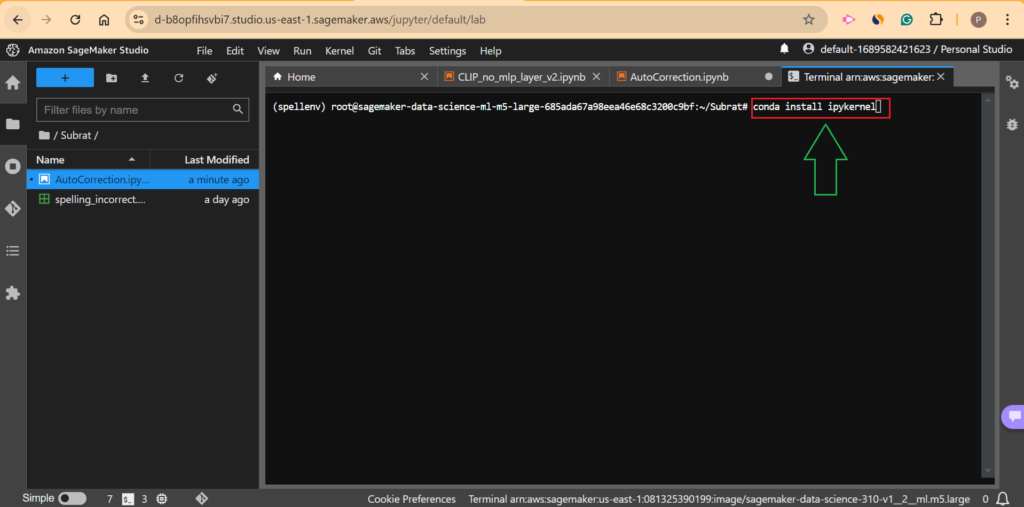
python -m ipykernel install – user – name spellenv – display-name "Python (spellenv)"
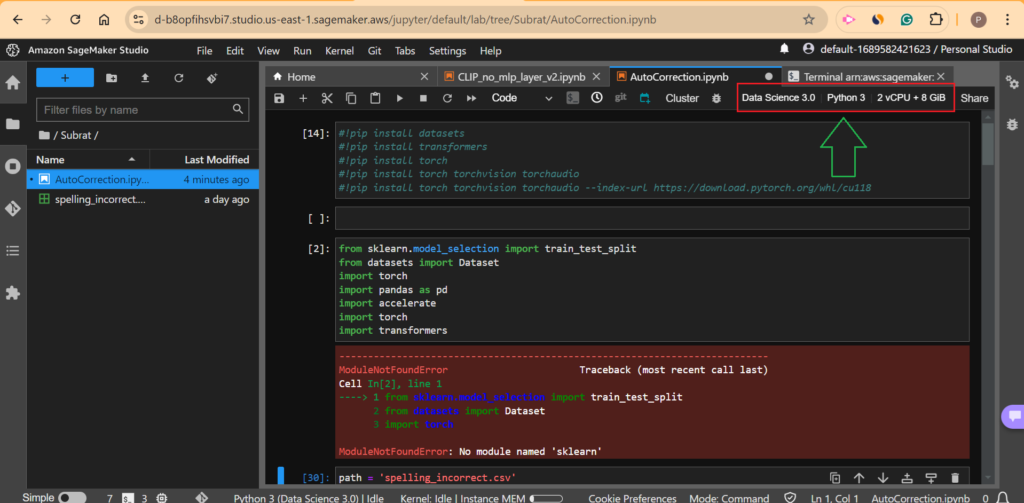
Click On The Notebook Environment Link To Change The Kernel.
Now Click On Kernel & Select Your Environment.
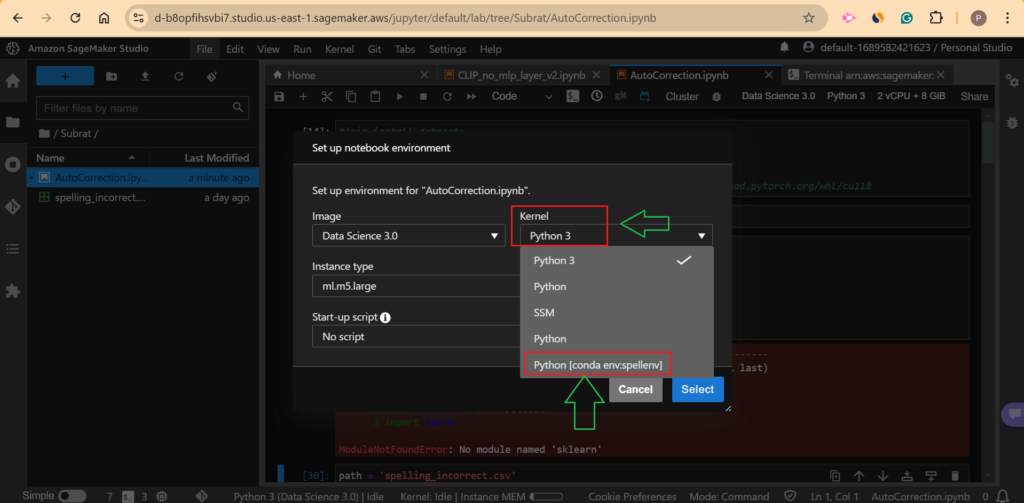
Now You Can See Your Kernel Has Been Selected.


